Brief Description: Tank Rib Prep and Cleco Right Tank
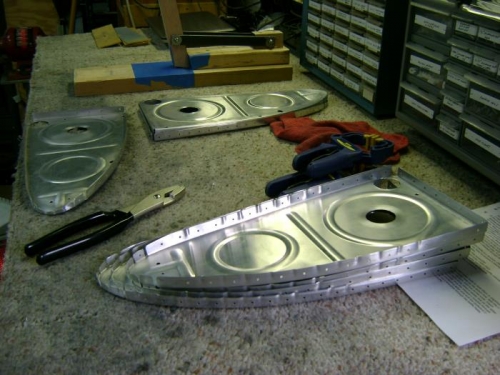
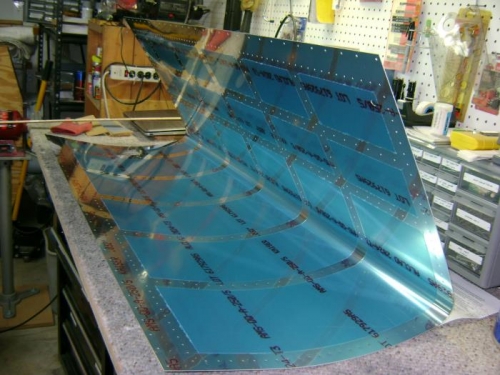
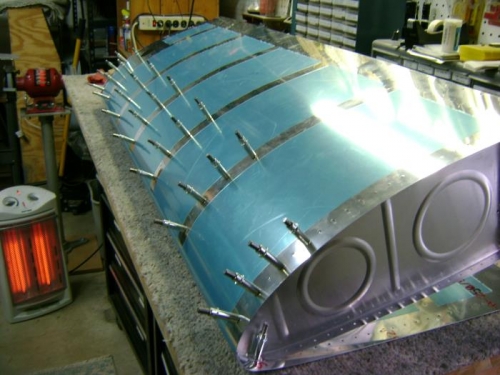
For the final step in rib preparation I fluted all the ribs. End ribs were thicker material and took more "squeeze" on the fluting pliers. I also made more, shallower flutes on these ribs which made it easier to get them straight. Removed the blue plastic from all rivet lines with the yardstick and soldering iron. Proceeded to cleco the tank together using the same techniques as the leading edge. I put one cleco in each rib from the inside in the bottom of the rib, forward most hole. I then used the tapered punch to align the rib and skin holes for the most forward hole on the top and inserted a cleco from the outside (normal) position. I got one cleco in each rib, then started moving up the ribs with a cleco in every other hole. Once the top was cleco'd I flipped the assembly and worked fron nose aft putting clecos in the bottom of the tank. Last step was to remove the cleco from inside and move it to outside. I though this process may be more difficult with the thicker tank skins, but it went just as smoothly as the outer leading edge sections.