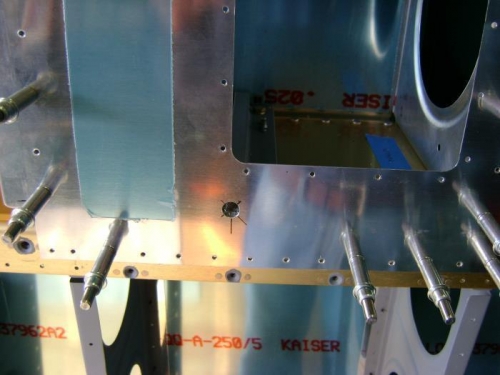
I began today by hanging the bottom skin back on the left wing and extending the lines to the tie-down hole. All three lines intersected exactly over the pre-punched hole in the leading edge skin. I drilled this hole out to 3/8 inch using a step drill.
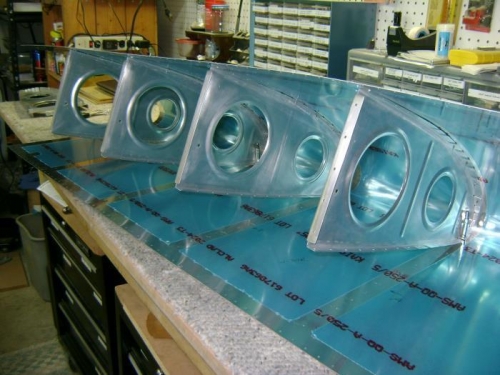
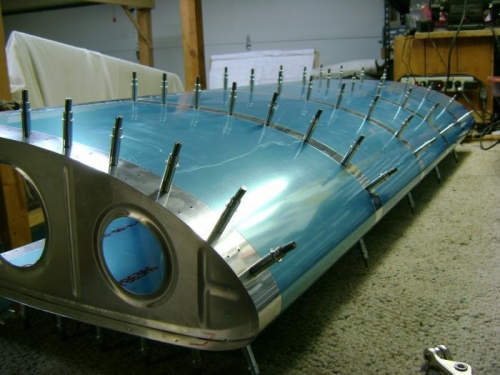
I fluted the ribs for the right leading edge and re-marked each rib to be sure I could get them in the correct order later. I followed the same procedure used on the left leading edge and put each rib in with one cleco from the inside on the bottom side, forward most hole. I used a tapered alignment punch to line up a skin and rib hole on the top of the ribs and used the punch to hold the skin while inserting a cleco, Repeated this process to get all four main ribs cleco'd on the top. Flipped the piece over, inserted a cleco in the bottom of each rib, then moved the inside cleco to outside and finished clecoing the bottom of the skin. Inserted the W-709L end rib and cleco'd it.