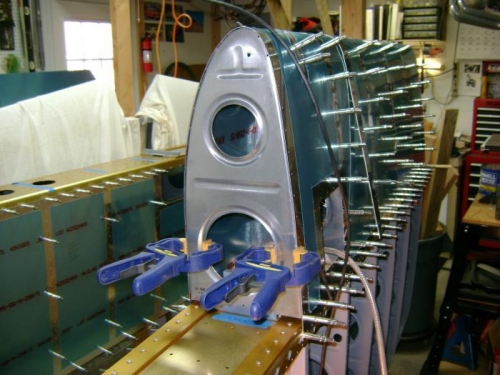
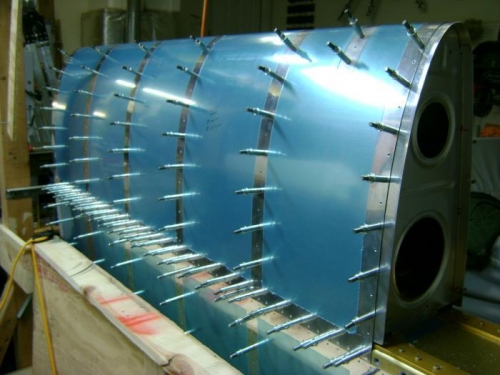
I mounted the leading edge assembly on the spar and cleco'd it in place. I inserted the W-408 end rib, lined it up and clamped it in place. I used a 12 inch #30 drill to back drill the rear flange to the spar and cleco'd it in place. I then proceeded to back drill all the other ribs to the spar with the long #30 bit. This procedure was easy to drill all the rib flanges using the spar as the drill guide. I located the aluminum sheet stock for the W-423s. Removed the blue plastic and marked a line 1/2 inch from the edge on both pieces. I pre-bent the W-423 using the cradle and outside of the leading edge as guides. Some hand forming was also required to approximate the shape. I began working the W-423 around the end rib and had some difficulty inserting it so I edge finished the 423 to give a smoother surface to work with. This helped with assembly, along with removing a couple of clecos near the end of the assembly. I finally got what I thought was a good fit and was doing a final check of measurements when I noticed I would have insufficient edge distance for the rivet closest to the spar on the bottom of the wing. Removed the 423, marked an edge distance limit on each end, adjusted the bend and re-assembled. Got everthing lined up nicely with 11/16 inch exposed on both sides of the 423 (skin and rib) and the reference line centered in all the holes. Drilled all the ribs, spar and the join plate to #40 on the top and bottom surface using the skin holes as the drill guide.