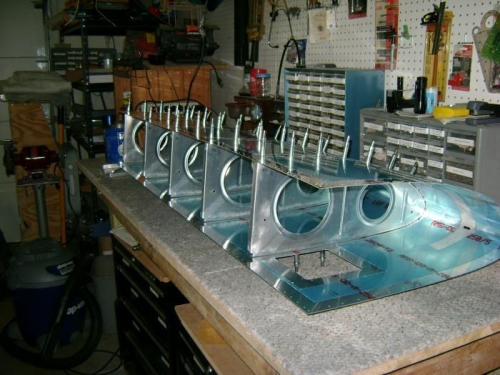
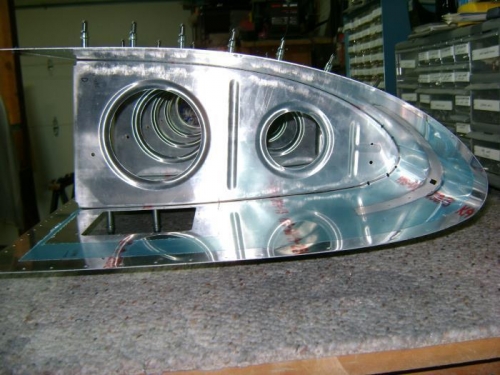
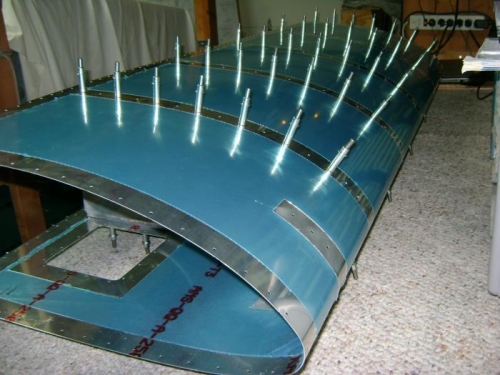
I fluted the ribs for the left leading edge and re-marked each rib to be sure I could get them in the correct order later. I put each rib in with one cleco from the inside on the bottom side, forward most hole. I worked on the bench after reading several opinions on ease of assembly on the bench vs. in the cradle. I was able to press the skin down onto the top of the ribs enoungh to get a tapered alignment punch into a skin and rib hole. I used the punch to hold the skin while inserting a cleco, then worked a couple of more cleco's into the top of the rib. Repeated this process to get all four main ribs cleco'd on the top. Flipped the piece over, inserted a cleco in the bottom of each rib, then moved the inside cleco to outside and finished clecoing the bottom of the skin. Inserted the W-709R end rib and cleco'd it. The inboard rib is not drilled so I held it in place and used the skin holes to make reference marks with a Sharpie, then fluted this rib between the Sharpie marks. My skin fit the ribs well, with not much effort required to get everything lined up and cleco'd.