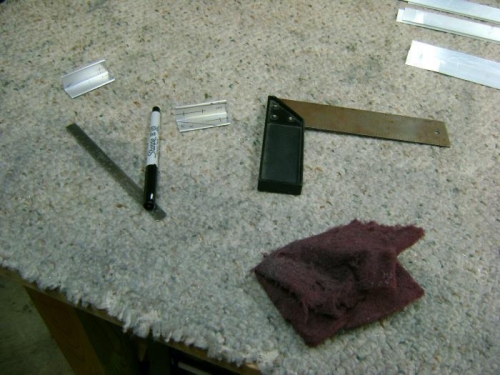
In double checking the layout of the angle brackets I found more mistakes, so I cleaned off the marks and did them all over. Checked against plans and all were good so I drilled the holes on the drill press, deburred, used the band saw to cut angles, and cleaned up all with sander and scotchbrite wheel.
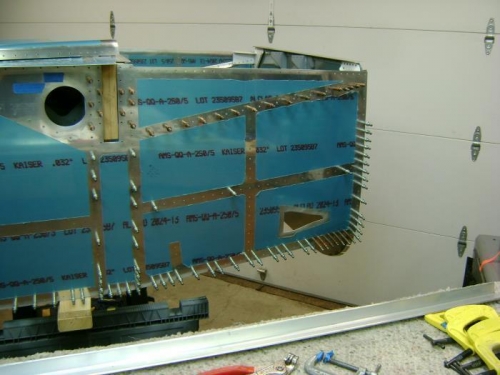
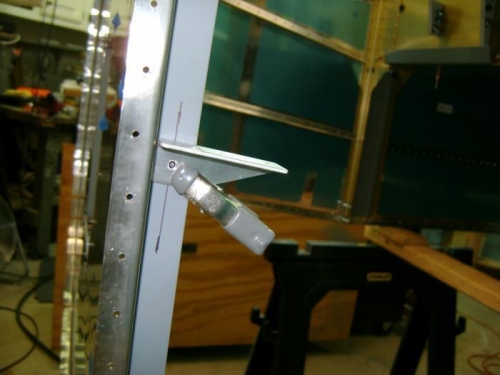
Marked centerlines on the F-719s, clamped on the angle brackets and test fit. Brackets are a bit too long and need a curve to match skin. Used the longeron dies to add a little curve to the left F-719, and worked fit through trial and error. Once the 719 fit well I marked minimum edge distance on both ends and used duct tape and clamps to hold in position and then drilled the F-719 to skin. Removed cleco's on the forward section to open skin and marked the setback on the firewall angle for the 719 angle. Closed skin, put angle bracket in place and clamped it to firewall. Open skin and saw the bracket was perfectly on the setback. Drilled this hole and cleco'd. Closed skin and marked holes for angle bracket on F-719. Removed F-719 and drilled the bracket to it. Repeat process for the right side.