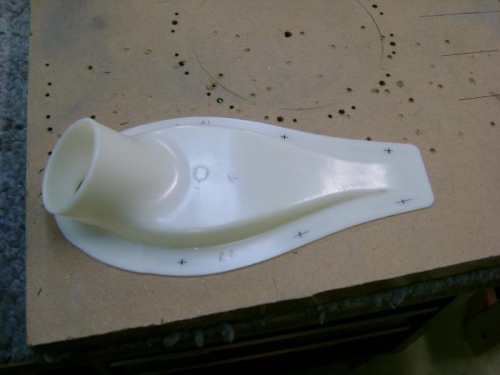
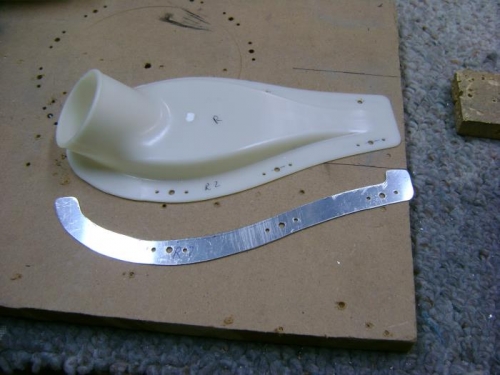
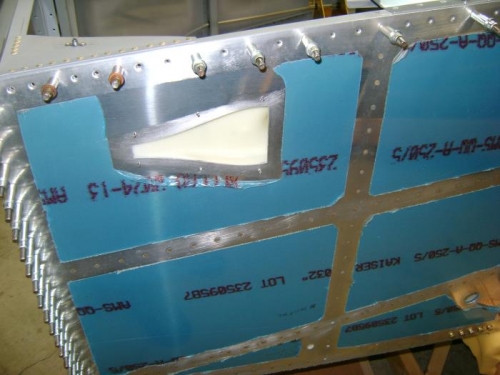
When I was satisfied with the fit of the doublers I marked the flange of the right NACA duct to space the screws evenly around the opening in the skin and centered on the flange. I drilled these marks to #40, then taped the duct to the fuselage and match drilled the fuselage, clecoing as I went. Upsized the holes to #30 and then to #28 for #6 screws. Removed the duct and drilled for nutplates. Began left side using same process. Got the duct drilled to skin with #40 when I stopped for the day.