
|

|
|
|
Stephens Web Site
|
Date: 2-20-2016
|
Number of Hours: 2.00
|
Manual Reference: Section 7
|
Brief Description: Begin Right Fuel Tank Assembly
|
|
Began final preparations for first steps in tank assembly. Wiped down all mating surfaces with MEK and let dry. Ran lines of blue painters tape along both rows of stiffeners. Assembled all the supplies: Flamemaster sealant and hardener, toothpicks, popsicle sticks, tongue depressors, metal spoon, scale (in plastic bag), disposable plates, plastic knives, and paper shop towels. I planned to use the "Rick Galati" technique of assemble and cleco, let sealant set up, then wet rivet a day or two later.
Mixed the first batch of sealant using 10 to 1 ratio by weight. I used 80 grams of sealant as the lines of stiffeners appeared to be the approximate equivalent of two ribs. I applied sealant to the tank skin with a popsicle stick and smoothed the sealant with the plastic knife, using the serrated edge to create small ridges across the surface as if setting tile. Spread sealant on the corresponding stiffener with the knife and pressed stiffener into place, oozing excess sealant out all around edges. Cleco'd every hole, then made fillet around perimeter of stiffener with poposicle stick. Repeated for all stiffeners.
|
|
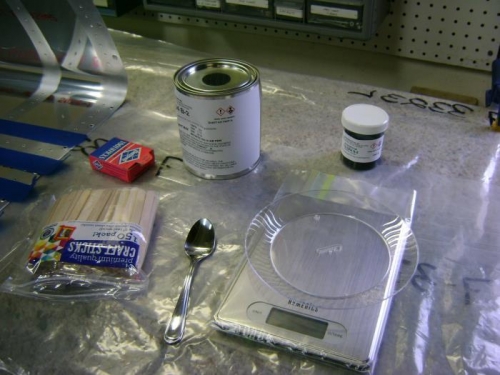
Tank sealing supplies
|
|
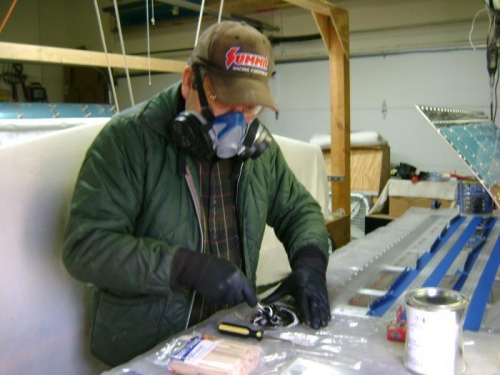
Mixing flamemaster sealant
|
|
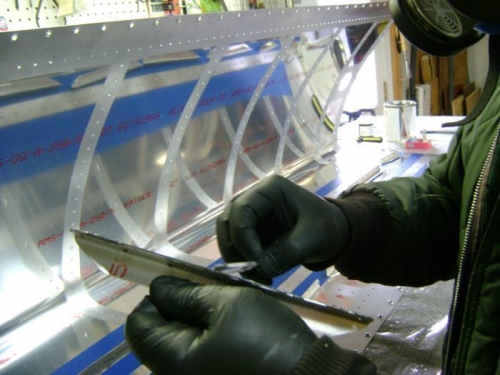
Applying sealant to stiffener
|
|
|
|
|
|
|
|
|
Copyright © 2001-2024 Matronics. All Rights Reserved.
|