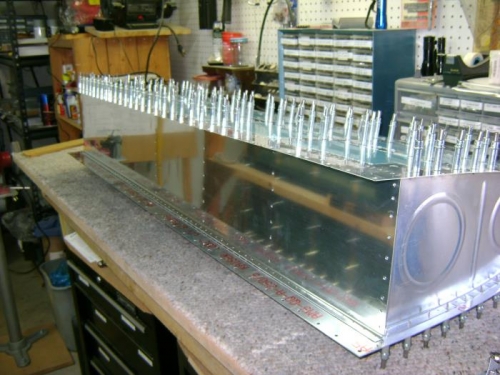
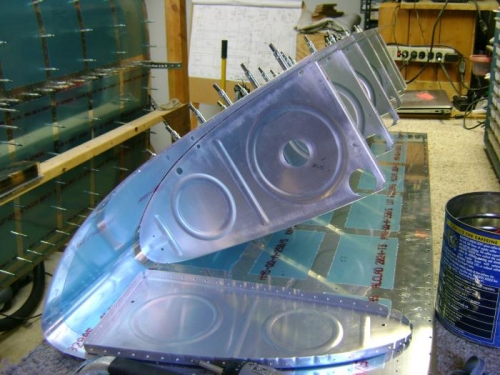
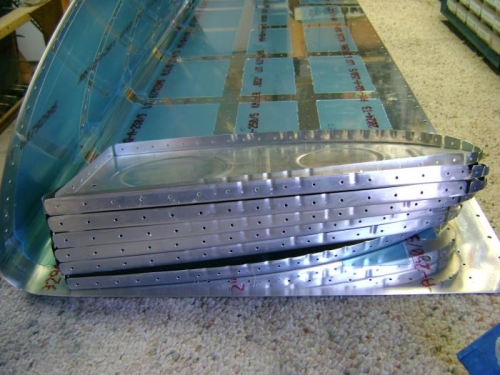
Deburred the holes in the outside of the baffle. Removed the baffle and deburred all holes on the inside. Edge finished the baffle. Edge finished the tank skin before I began disassembling. Used a hand file, scotchbrite wheel in the die grinder, emory cloth and scotchbrite pad. Removed the tank stiffeners, deburred all holes and marked them as to their position in the tank. Removed all clecos from the bottom of the tank, flipped it over and removed ribs one at a time for hole deburring. After I deburred each rib I used a square to check the flanges based on my experience with the skin fit at the joint with the leading edge. Most flanges were not at 90 degrees where they were fluted, so I re-bent them with seaming pliers.