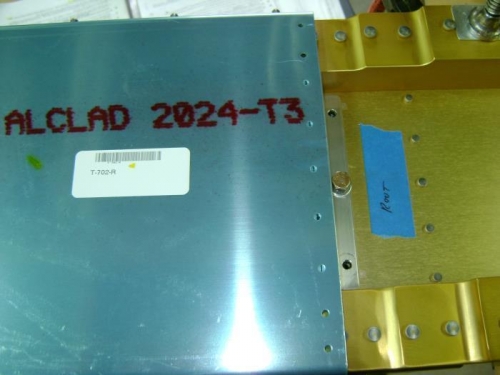
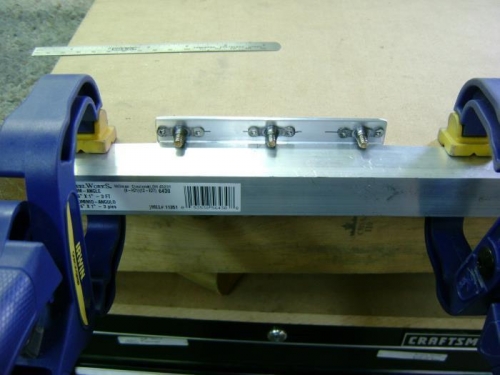
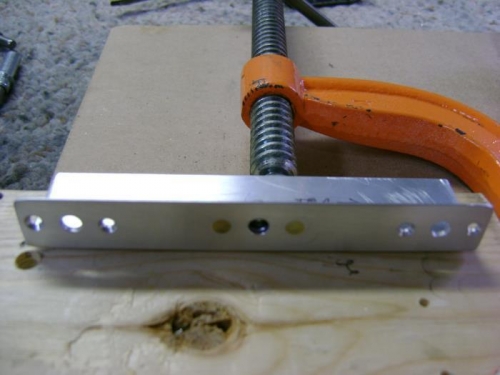
Before I proceeded with preparing all the Z-brackets I did a test fit with the tank baffle. I bolted the z-brackets to the spar, squared them up and put the tank baffle on them. The centerlines on the brackets showed through all the holes in the baffle, confirming I had all the brackets in the right place. Then I continued the process of preparing the brackets. I bolted the tapped out nut plates to each tank bracket, drilled one ear and inserted a cleco, then drilled the other ear, and repeated for all brackets except the "root" bracket. I took the tapped out nutplates and the bolts I had been using and put them in a separate location so they will not be used on the aircraft. I deburred all holes then set up the #40 countersink and drilled a wood block to assist in centering the countersink pilot. Countersunk all nutplate mounting holes, then riveted on the nutplates using the squeezer. I mounted all the brackets back on the spar with two bolts per bracket.