I completed the blanks for the wing walk doublers. First I removed the blue plastic from the rough cut pieces and marked the final dimensions on the metal with a sharpie. I had two edges that were untouched, so I marked them and used them for all reference marks. I trimmed them to final size using a combination of a dremel sanding drum, band saw, and vixen file. I used the scotchbrite wheel to final edge finish and round the corners.
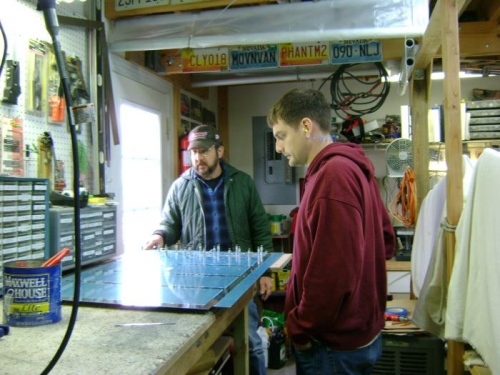
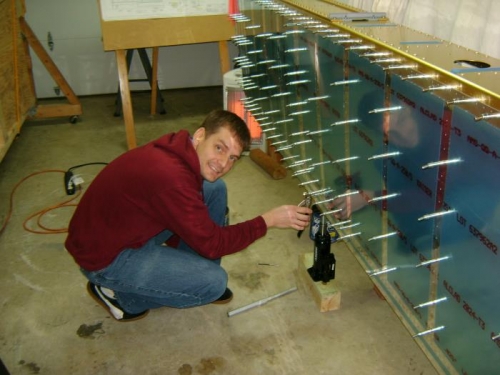
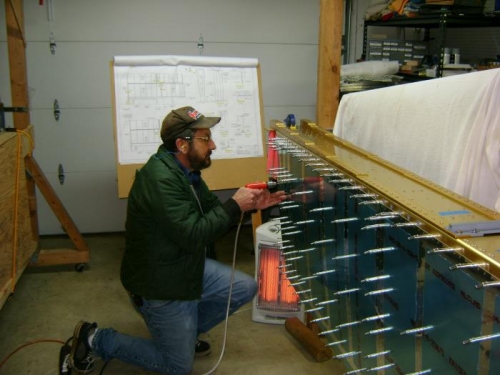
Our oldest, Stephen, got his first work time on the project as he helped to match drill the right wing walk doubler with the top skin. We then deburred all the holes in the doubler. We put the inboard top skin on the skeleton, taking care to get the overlap correct, as the outboard skin had to be on top of the inboard. We drilled all the holes in the top two wing skins, deburred the top side, moved the clecos and drilled/deburred the remaining holes.