Aligned the trim tab to the elevator and worked the tab a little to ensure it was straight. Marked the pre-punched holes on the end tabs for reference. Drilled the inboard holes and cleco'd together. Marked the outboard tab with a centerline and positioned holes to get best edge distance possible on the aft rivet. Forward rivet edge distance was no problem. Drilled the outboard tab, dis-assembled, deburred all holes and dimpled inner and outer tabs for both ends. Dimpler was a tight fit on the aft rivet of the outborad end and made a small raised bump in the end of the tab. Massaged the bump as well as I could with hammer and a scrap piece of aluminum. Re-assembled all and cleco'd then riveted the top of the trim tab and hinge together. Set the blind rivets in both ends. Cleco'd on the elevator for a final check and then riveted the forward half of the hinge to the elevator and set the blind rivets on the trim tab spar.
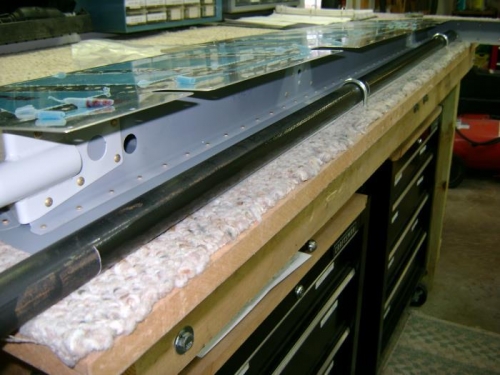
Set up the rolling rig I used for the rudder. Had to drill new holes in the bench for the J bolts and shorten the steel pipe to fit the elevator.