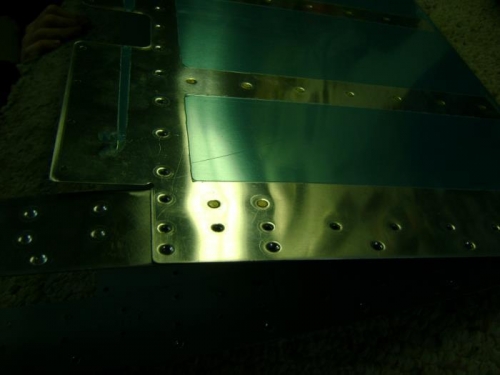
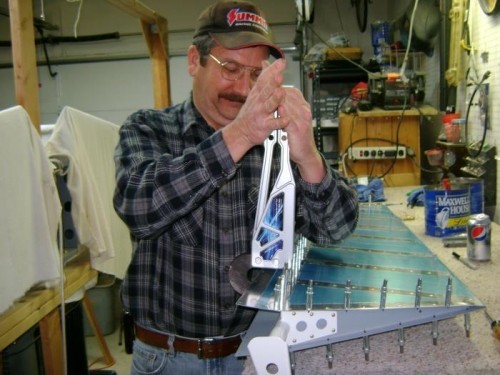
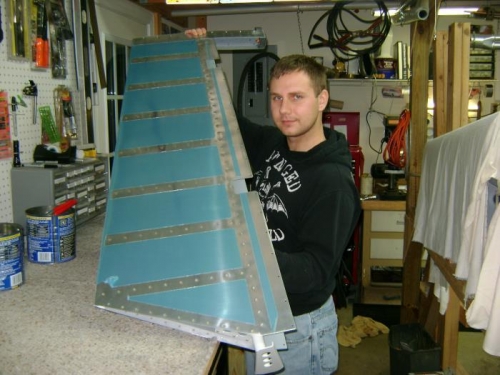
Drilled the holes to mount the fiberglass tip with a #30 drill, deburred all holes and dimpled the skin. Then we set the two rivets on the top and bottom connecting the counterweight skin to the main skin. We put a dab of RTV at the trailing edge of each set of stiffeners and inserted the skeleton as described in the plans. Cleco'd the whole thing together prior to riveting. Was able to reach almost all rivets with the squeezer and dies, with a couple done with a "no hole" squeezer yoke. We missed the rivet length change for three rivets on the top and bottom skin where the counterbalance skin, elevator skin and rib are all riveted together. Fortunately, Jason noticed the too small shop head on the second rivet and so we only had to drill out two rivets instead of all six. I also got a bad squeeze on one rivet next to the counterweight that we successfully drilled and replaced. The final two rivets on the trailing edge of the tip and main rib could not be squeezed. I used offset riveting on the second to last rivet, and tried to do offset on the last one but the stock I used was too thin and bent as I tried to set the rivet. Took several attempts and finally got one rivet set. Decided to use blind rivets for the other three, so drilled the holes with #33 to accept MK-319-BS rivets. These set with no problems.