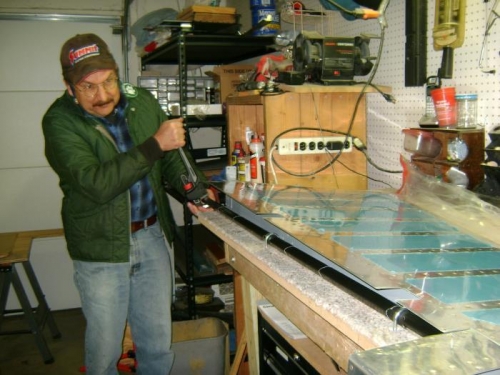
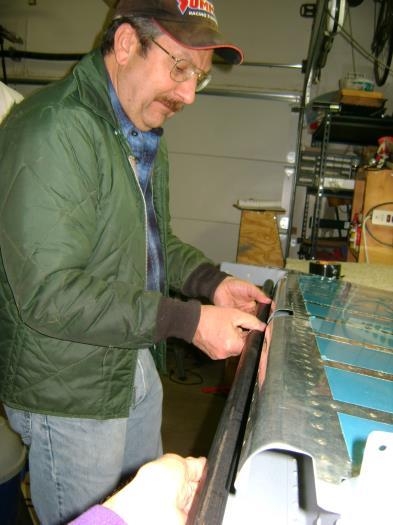
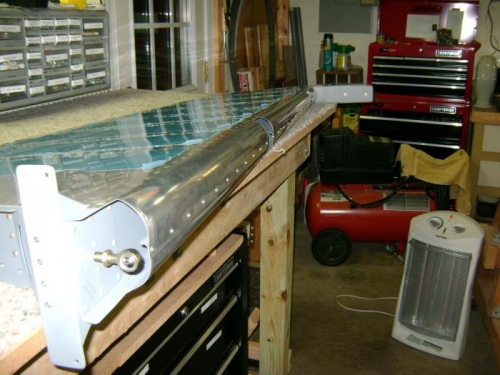
I made a rig to roll the leading edge with a piece of 3/4 inch water pipe and two U-bolts cut to be J bolts. Drilled holes through the bench top for the bolts to hold the pipe down snug on the work. I put a plastic trash bag under the skin to help it slide on the table and taped the leading edge of the skin to the pipe with Gorilla Tape. A 14 inch pipe wrench provided great leverage to turn the pipe. I rolled as far as I could with all three sections taped to the pipe then rermoved the tape from the tip section and rolled the bottom two a little further. Removed tape from the middle section and rolled the bottom further still. Flipped the rudder over, drilled two more holes (to let the rudder horn hang over the other end of the bench) and I edge rolled the flat right skin to provide a small angle to make skin lay flat after riveting. Then I repeated the rolling process for the right side skin. Final result left a gap between the skins that I slowly closed by hand bending the skins using a short piece of broom handle and just bare hands. Got the edges close enough to cleco the leading edge together without too much trouble. Curve of the metal was slightly too tight as the height of the leading edge was less than called for in the plans. Massaged the curve some more with clecos in and out, then re-cleco'd and began riveting. Pulled rivets went well and skins were flat between rivets all the way except the small section at the tip. Added two rivets between the existing ones and skin is held down nicely. Hand threaded the rod end bearings into the spar and will make a tool to tighten them next.