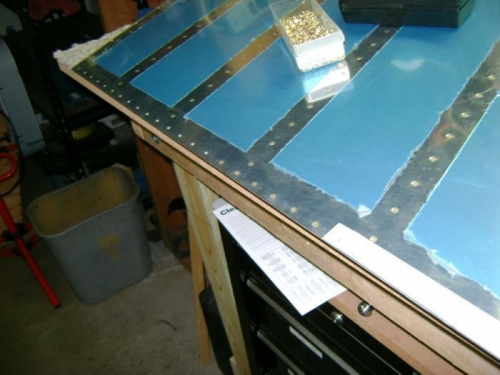
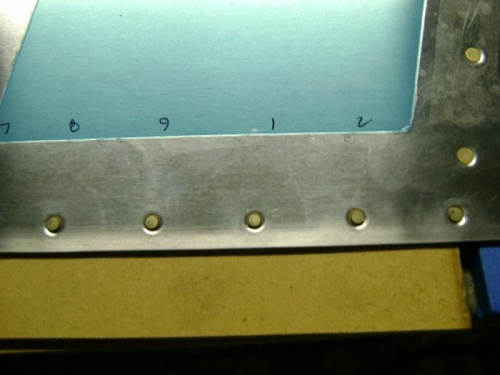
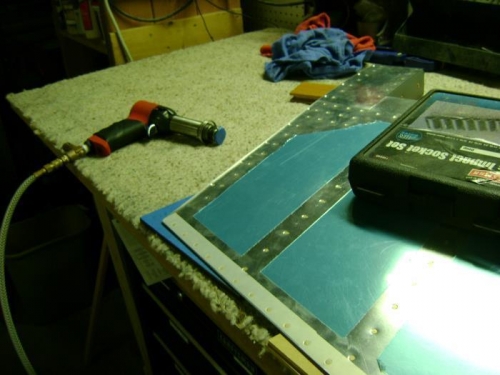
I set a few double flush rivets in my practice piece, then was ready to work on the rudder. I inserted all the rivets in the trailing edge and taped them down with riveting tape, then flipped the rudder over. I taped the surface of the back riveting plate to prevent scratching the rudder as I moved it around. I also numbered all the rivets from 1 to 9 starting in the center of the rudder and moving toard the tip and then again from the center to the base. I made up several shims to supprt the rudder at the height of the back rivet plate and make the bottom surface parallel to the bench. I used some tool boxes to secure the rudder on the bench/shims. I started with the back rivet set and partially set all the #1 rivets, starting from the center and alternating toward the tip and base. The directions in the plans were good and I started each rivet with the set vertical and as the rivet compressed moved it to perpendicular to the rudder surface. Used this technique and partially set the #5 rivets, then the #3, #7, etc. Moving the back rivet plate and shims as required up and down the trailing edge. I checked straightness several times during the process. The rudder appeared to have a slight bow in it with the rivets partialy set, but it was less than the 0.100 inch tolerance in the plans. I flipped the rudder over and started at the tip to finish setting the rivets with the mushroom set on the factory heads. I made one pass from tip to base and then went back over the rivets from base to tip. The final results are well set double flush rivets and a good looking trailing edge with a maximum deviation from the straight edge of 1/16 inch or 0.0625. Well inside the tolerance.