
|

|
|
|
Carl Bells RV7A N947CB
|
Date: 3-19-2010
|
Number of Hours: 4.00
|
Manual Reference: Sikaflex Bullitins
|
Brief Description: Bonding the wind sheild
|
|
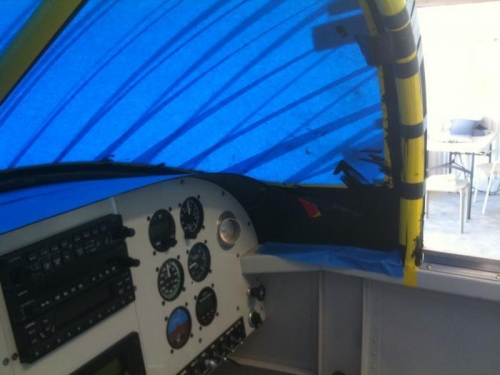
Ed Booth flew over to help me bond the windscreen. He is planning to do this on his RV 9 and wanted the experience. He is a really great guy, and A & P Mechanic and a builder of too many RV’s to count including a beautiful RV 7 he now currently flies. He also has been and advisor and mentor for me on my plane.
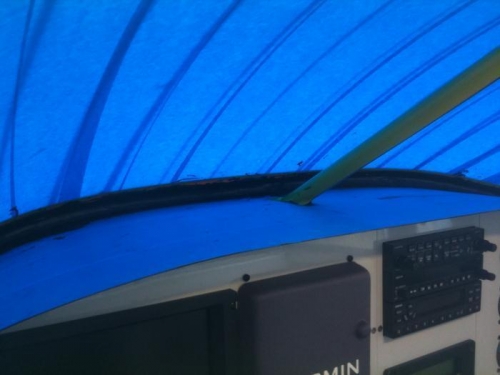
Following the Sika instructions to the letter, we used the 226 cleaner first, waited 10 minutes and then using throw away foam and natural bristle brushes to paint on the 209D Semi gloss black Sika primer. Then another 30 minutes and it’s time to use the caulking guns and pre-made and pre-shaped plastic tools to get the fillets in place.
Tips:
1 - Use plenty of Sika and try to get the fillets fairly close to the final shape
2 - Use small plastic tongue depressor shaped tools cut to the right fillet shape for final tooling
3 - Try to do the job at 65 Degrees; it gives you at least an hour to move the Silaflex around
4 – Sikaslick does help to facilitate smooth fillets, but don’t expect it to look perfect, that is impossible. If you want short term beauty go for Vans rivet method, looks great until it cracks, and they almost all do sooner or later, especially at rivets because of the temperature coefficient differences between the metal frame and the plastic canopy.
5 – Preparation is everything, especially the spacers to get the required bonding gap and taping to keep the Sikaflex in the right place.
|
|
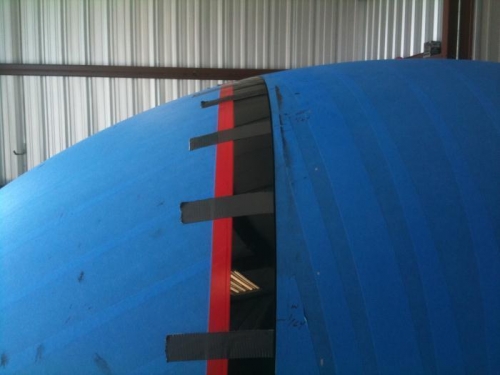
It looks messy now, but wait until all the tape is removed
|
|
The base fillet
|
|
I used duct tape to hold the canopy to the frame while drying
|
|
|
|
|
|
|
|
|
Copyright © 2001-2025 Matronics. All Rights Reserved.
|