Brief Description: Motor mount installation & Wiring
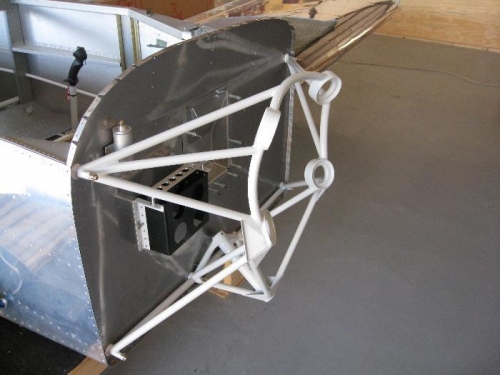
Today was motor mount day. Although there are 3/16” pilot holes in the fuselage mounts, these have to be adjusted to match the weldment and enlarged to 3/8”. The actual motor mount comes welded from a jig and powder coated and is a thing of great workmanship and beauty. The issue is in the tolerances between the pilot holes and the weldment. In my case all the holes had to move toward the center of the firewall about 1/8”. I ended up moving the fist hole toward the center using a rat tail file to a circle I drew with a 3/8” circle template. It looks like a big circle with the hole being the smaller circle inside, but touching in the 10 o’clock position. I then filed this are out to the 3/8” circle line which is slightly undersize because the thickness on the Sharpie marker line. Then I came back with a 23/64” drill and finally a 3/8” reamer. The net result moved the hole almost a full 1/8” toward the center line of the plane. After putting this 3/8” bolt in place through the mount I could mark exactly where the other three holes need to move and repeated the process. Finally I use a 3/8” drill center punch to mark the 2 holes on either side of the nose gear mount and drill them to size. The mount now goes on with little effort and therefore little stress on the weldment. Take your time and you will see good results using this method and have the ability to move these hole in any direction over 1/8”.
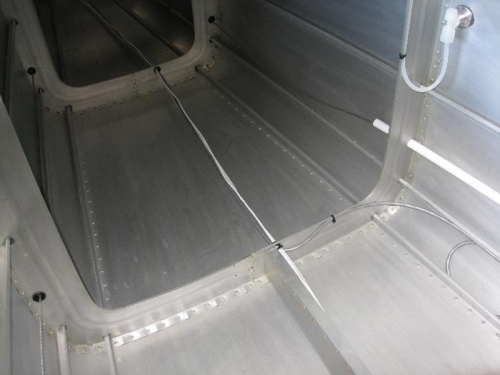
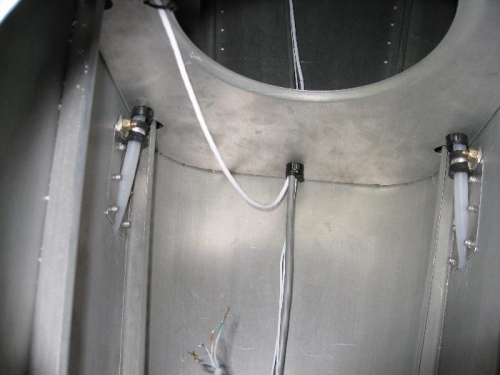
On a side note, I also finished the wiring in the rear fuselage for the position / strobe light and elevator trim. I want to get to riveting the top forward turtle deck skin in place next week so I can then get the interior painted and move on to the final assembly process. If I had were doing the slow fuselage build, I would consider painting all the cockpit interior skins and save the process of building and taking it all apart again to paint. I have seen this done on another RV and it worked out well. The only thing not painted then are the rivet heads, and usually most of the interior gets cov
Motor mount installed
Finalized rear fuselage wiring for lights, strobe and trim