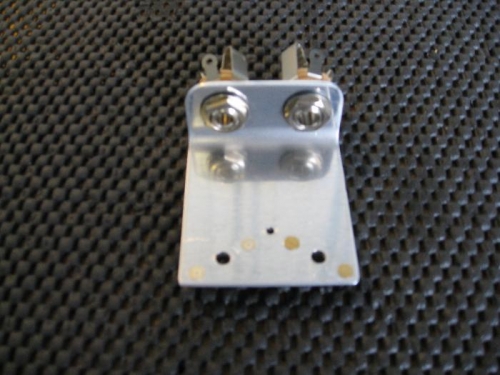
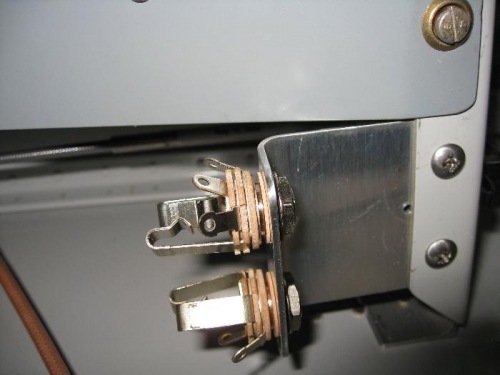
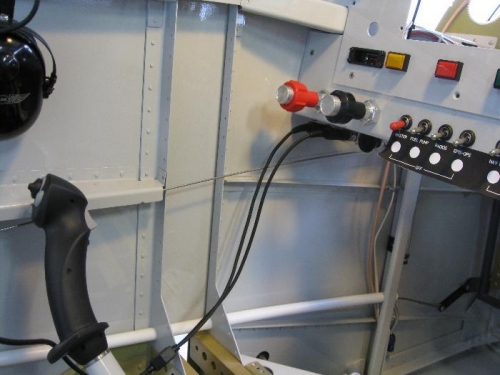
After reading everything I could find on where to locate the head set jacks, I was even more conflicted on where the best location would be. I called Pierre Smith and asked him since he built and RV. He said that he made a mistake mounting the jacks in the cross bar behind the seats, they are always in the way and if they come unplugged; it is difficult to reach them for reseating. He recommended mounting them somewhere in the panel corners where they would not interfere with anything. That of course is easier said than done, because there is little room in those locations. I decided to fabricate a mount that would go under the panel and allow the plugs to mostly be under the panel and out of the way. My left hand throttle complicated the matters some, but with careful installation, it does not interfere with anything. It may be tight to get the Classic Aero side panels around the jacks, but I did allow over ¾” between the fuselage skin and the headset mount. The mounts are fabricated for .080 2024 Aluminum, bent with a very generous radius as shown in the picture. I use the Aero Electric manual for understanding how the insulated jacks mount without shorting out on the fuselage by using a shoulder and fiber washer that comes with the Garmin Audio panel. It is pretty simple once you see the instructions and drill the right size mounting hole. This by the way in 7/16” not 15/32 as mentioned n the manual.
Note: There is a mount on each side of the airplane.