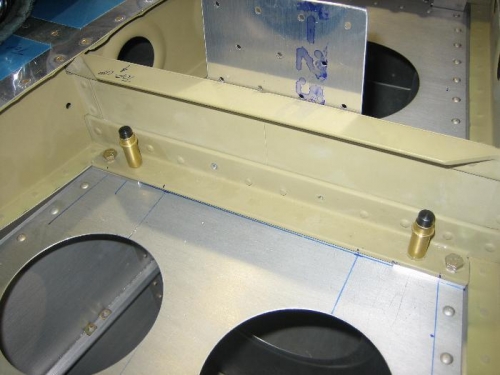
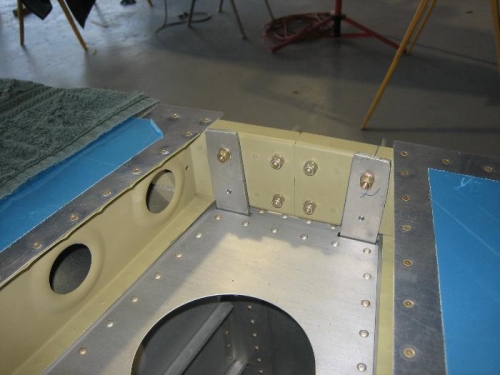
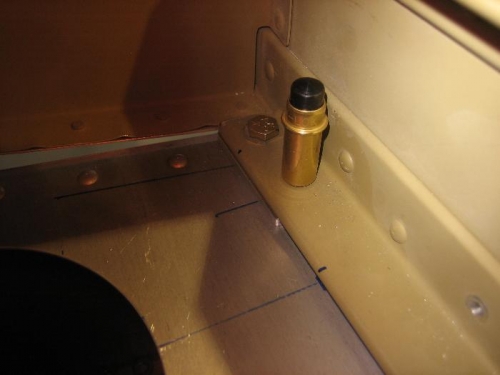
My "Aluminum Mistress” is starting to take on the shape of a real airplane. I mounted the horizontal stabilizer today and was pleased with the results. I had Ed Booth, my EAA technical advisor stop by and take a look before I drilled the attach holes in the longerons to make sure everything was where it should be. I used two 3/16” drill bits under the rear spar as spacers and after marking the longerons and cross angle positions with a sharpie on the empennage cover skins. Since there is no room for fudging on this step and it will affect the way the plane flies by setting the incidence, I measured about 30 times and drilled once. After carefully marking and drilling the pilot hole locations in the HS deck, I measured from each stabilizer tip to the end of the longerons at the firewall. When both were exactly 170” I used clamps to hold the stab in place and the drilled the holes from the inside up through the pilot holes into the stabilizer HS 714. This worked to perfection with everything it the right place. I was worried about this step because it is sooo important to get it right. In my mind there are only a few hair raising building steps left, attaching and setting the wind incidence and mounting the canopy, which is expensive and prone to cracking. The next step is mounting the vertical stabilizer and attaching the elevators and rudder. Then I can sit in the plane pretended to be flying while making airplane noises.