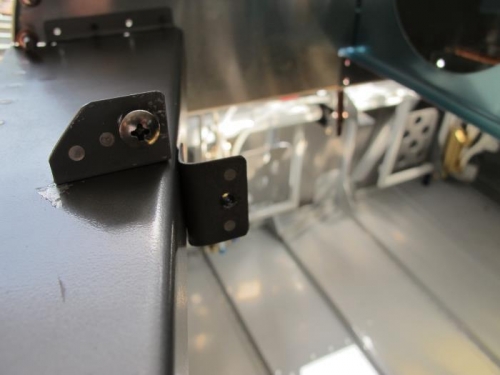
Had I paid more attention several months ago, I would have realized that the small, angle brackets cannot be riveted to the canopy deck with the platenuts riveted to the angles. I had to drill out the rivets and remove the platenuts. Fortunately, I had only riveted the platenuts to two of the four angles. Once I accomplished that, I prepped all of the front deck pieces for priming. I filled my spray gun with primer and it wouldn't spray. I searched in vain for my spray gun cleaning brushes before giving up and heading to Home Depot for a new spray gun. I managed to get everything primed and then called it a day to do some research on how to proceed. It appears that I need to do some further work to the hat section prior to riveting it to the subpanel.
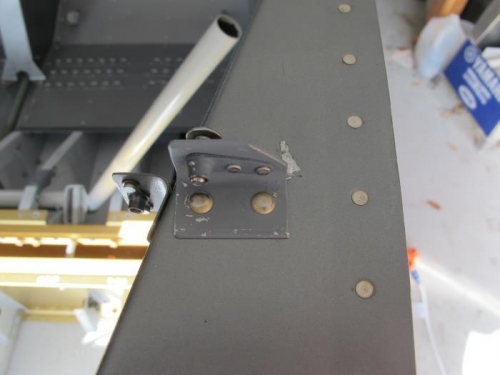
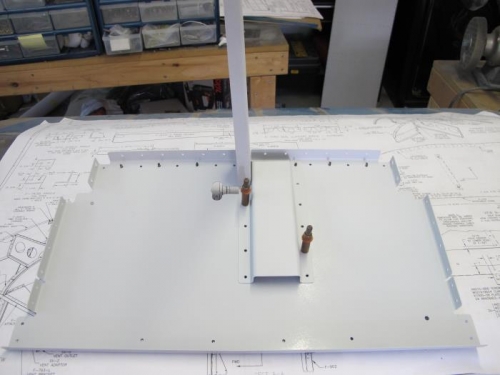
After some research, I figured out that I could omit the hat bracket as I have no plan to use the canopy release. I went back to the garage and riveted the seal brackets to the outboard and center subpanels. I marked the F-745-L&R ribs at the subpanel to cut them in preparation for relocating them after I plan the panel layout. My bandsaw was out of adjustment and I spent over thirty minutes getting it adjusted so I could make the two cuts. I riveted the platenuts to the ends of the ribs afer I made the cuts. I dimpled the firewall using my rivet gun with an attachment with dimple die and a bucking bar. I riveted the F-644 L&R Channels to the Center Sub-Panel. I clecoed the structures back into the fuselage and temporarily screwed the blank panel to the attachment angles in preparation for fitting F-703 L&R Vent Brackets.