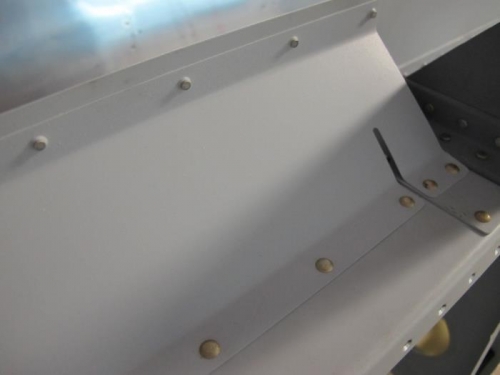
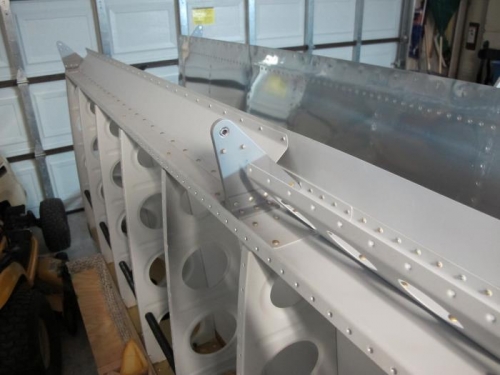
The weather gave me a break (temporarily) and I got a few things etched and primed. I etched the right aileron skin and stiffeners, the aileron and flap gap seals, and the left wing bottom skins before the skies darkened and I pulled everything inside. After an hour and a half, I decided it was a false alarm and pulled everything back out to prime. I just finished and got everything back in the garage when it began to rain. I riveted the aileron and flap gap seals using a combination of squeezer and rivet gun/bucking bar. They went on pretty easily. I back riveted the stiffeners to the right aileron skin and used the bending brake and a 3/16" wood dowel to form the trailing edge. I then used the squeezer and "oops" rivets to attach the platenuts to the left wing bottom skins for the access covers. Next up, is to finish the flaps and ailerons and get the wiring and static/pitot lines run so I can get the bottom skins riveted on.
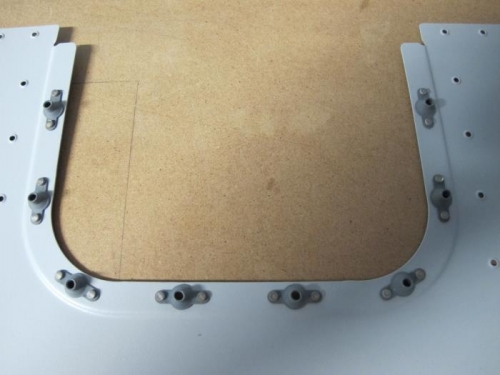
NOTE: (from 06-23-13) Do NOT dimple the flap brace as shown in picture 2. The bottom of the flap brace gets countersunk to accept the skin dimples and the hinge sits flat againts the back of the brace!