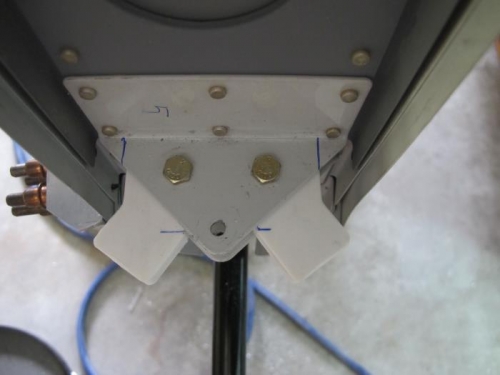
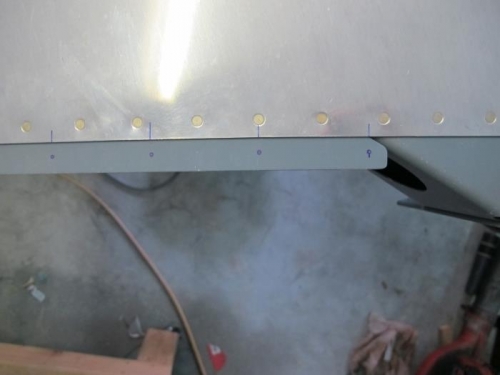
Hurricane Irma left us without power until last Thursday and we probably need a new roof, but we fared better than many. I spent Monday and Tuesday nights working with the High Water Rescue Team. We evacuated over 300 people and pets after the storm. I called Stein yesterday and told him that I wanted to go ahead with the last revision that Jed had designed for the panel. I look forward to getting it in a few weeks. In the meantime, I have plenty to do. I went back to working on the empennage. While I had the rudder off, I decided to mount the internal rudder stop I purchased previously from Flyboy Accessories. I need to order two slightly longer AN3 bolts (AN3-10A) to get it permanently bolted into place. I trimmed the lower rudder cap to get a bit more clearance between the cap and the tail spring and then marked the rudder where the holes will get drilled to rivet the cap to the rudder. I verified that my Whelen strobe will mount to the taillight mounting ring I purchased from Cleaveland Tool. I need to purchase my West System epoxy and get it mounted. I riveted the remaining seven platenuts to the bulkhead and top skin for mounting the empennage fairing and then began drilling the rivets out to #36 for the lower fairing. As I was tapping the holes to 6-32, I broke the tap. I managed to retrieve the broken piece using safety wire pliers and called it a night.