Brief Description: More Bottom Skin Riveting, Taxi Light Install
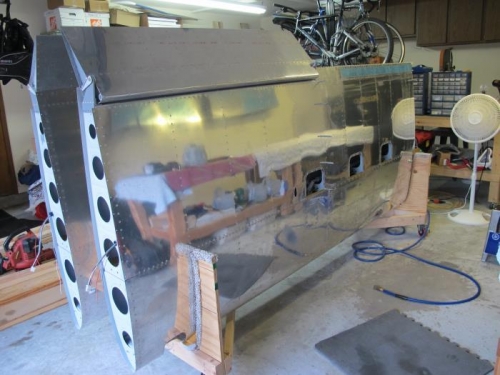
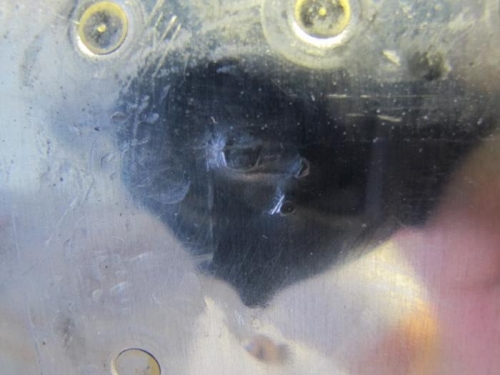
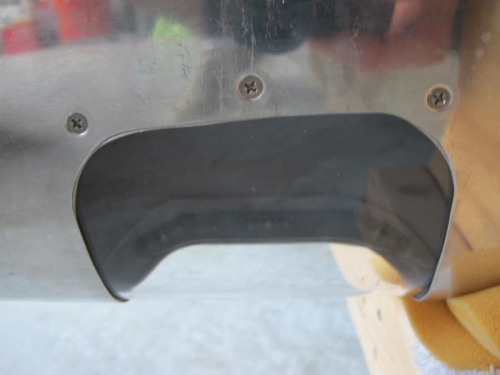
I got up early and ran the AWG20 red and black wires through the conduit for my LED nav lights in each wing. I then resumed riveting the bottom, inboard left wing skin. For the first time since I began the build, I felt like quitting. Image 2 shows the end result of 45 minutes of trying to shoot a single rivet. I thought I would lose my mind. I finally gave up and woke Ginger up and asked her to help. We finished the inboard wing skin and then went to see Disney's Planes. Other than paying $20 for two Cokes and a popcorn, I had a good time and enjoyed the movie. When we returned home, I printed out some labels for my wiring using an Arial 6pt font. I cut some clear shrink tubing (1/8" and 1/16" for the smaller wiring) and labeled some of the wires. Ginger and I removed the left wing from the cradle and placed it on my workbenches to install the taxi light. For some reason, the picture makes the light cutout look uneven. Ansel Adams, I am not. After that it was back into the cradle for more riveting. I used the squeezer on the flap hinge/bottom skin rivets and called it a night.