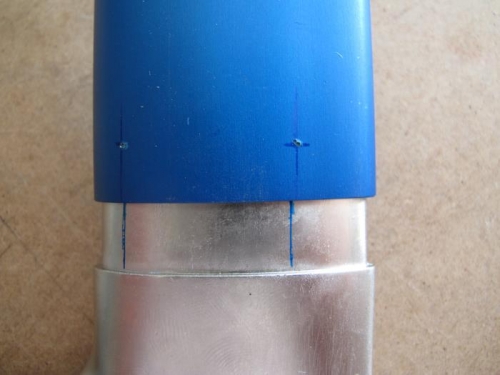
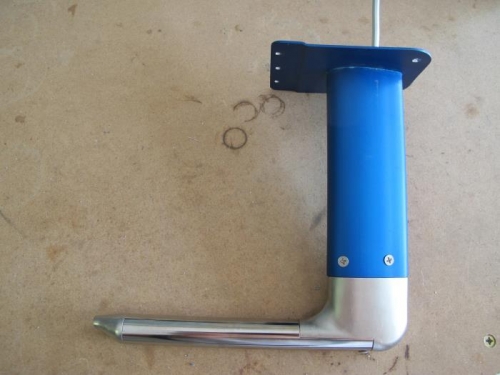
I began the day by marking the pitot tube for the flush head screw holes. I drilled the holes with a #36 drill and tapped them with a 6-32 tap. I countersunk the holes by hand with a deburring tool. It wasn't perfect, but it worked. I used 1/4" long stainless steel machine screws to attach the tube to the mast before dissambling it for installation later on the wing.
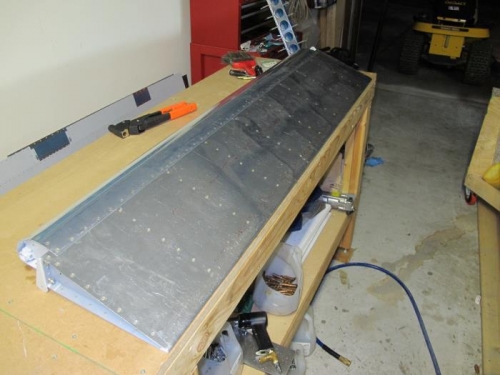
I broke out the primer and equipment and primed the pieces for the left aileron although I somehow forgot the outside ribs and had to shoot them with 7220 self-etching primer later. I dimpled everything and built two stands from 2"x4" wood to clamp to the bench. I screwed the aileron to the stands and Ginger came out and shot the rivets attaching the forward and aft skins to the spar. After removing the aileron from the stands, I squeezed and pulled the remaining rivets. I also got to use my Snap-On torque wrench for the first time. It's my fourth torque wrench and should have been the first one I purchased. Well worth the money.