Brief Description: Leading Edge Joint Plate Assembly
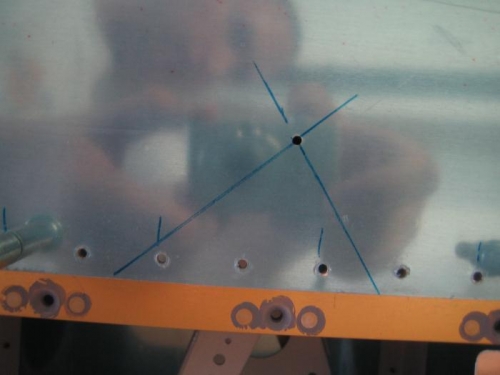
I clecoed on the bottom skins for the left wing and drew lines that intersect at the center of the tiedown bracket. I then removed the bottowm skins from both wing structures so that I could fit the leading edge and tank skins. The top skins remained clecoed to the structure. I clecoed the leading edge assemblies to the structures. I had heard stories about using tiedown straps to cinch the assemblies in place but mine went right on-made me a little nervous that something was wrong! I slid the W-408-I leading edge rib in place and then marked the Joint Plate 1/2" from the edge before working in into position between the skin and rib. All the ribs and joint plate were then drilled to #40 through the pre-punched holes in the skin. I extended the lines from the bottom skins to the leading edge and they intersected at the hole for the tiedown bracket. I used a unibit to enlarge the hole to size.