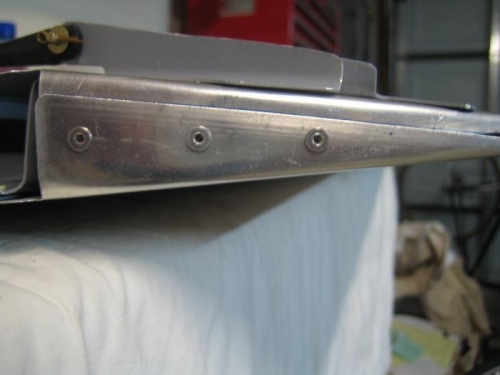
I took advantage of the holiday to rivet the tab ends and install the trim tab servo. It had been some time since I last worked on the RV in earnest and for the life of me I could not figure out how to bend the tabs, drill the holes, and dimple them for the CS-4 rivets. I asked Bob and Joe at our Sat EAA meeting and the consensus was I could "unbend" the tabs and dimple them with a pop rivet dimpler or just countersink the outermost tab with a deburring tool and build on. I chose the countersink method.
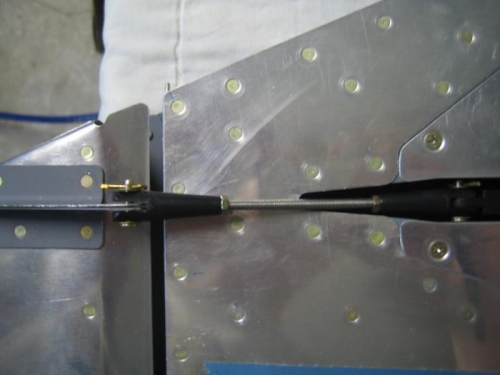
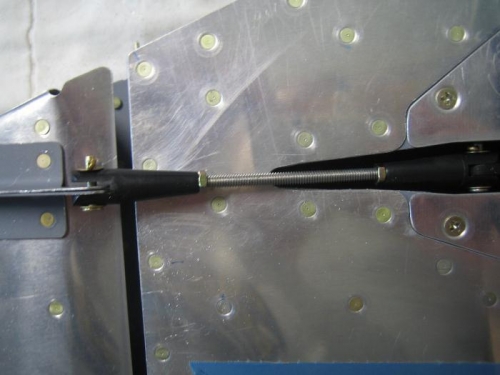
Using a 9V battery, I ran the servo to its endpoints and then back to the center. I threaded the rod halfway into the servo's clevis and mounted the trim tab. While holding the trim tab in trail, I marked the threaded rod and cut it to length. Next, I estimated the amount of material I needed to file from the skin so that the rod could move freely. I need to construct some wires with alligator clips and run the servo to its endpoints again, verify clearance and make sure I have the full travel specified by Vans.
One of the benefits of taking the left elevator to the EAA meeting was that Joe caught the fact that I had left the jam nuts out when I installed the rod end bearings. Oops! I got them installed (cracked my homemade PVC installation tool in the process) and called it quits for the day. It's amazing what one can accomplish while waiting on the car battery to charge. And to think I was going flying today...