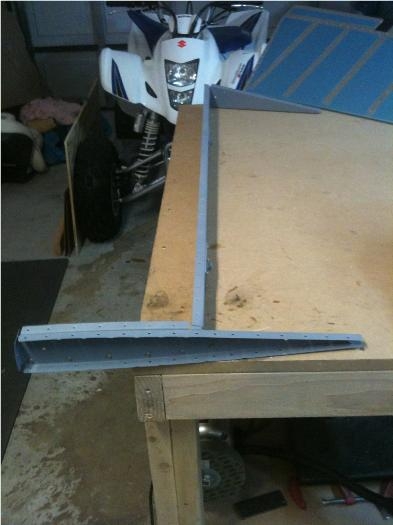
Brief Description: Riveting the Right Elevator part 1
Rough day in the "hangar" today. Everything I touched seem to get jacked up. I started countersinking on the wrong side of a piece and ended up drilling it out and using "oops rivets" to make sure the hole was filled. Not the end of the world, but aggravating. I beveled the counterbalance skin where it is overlapped by the elevator skin and finished priming the parts. I then realized that I had never deburred the elevator skin. Deburred and then touched up the primer. I can't recall which build log I read that said not to follow Van's instructions in order when riveting the elevators. Of course, today being today, I forgot and followed the instructions to the letter. I should have riveted E-703 rib to E-702 spar and E-704 rib to E-702 spar BEFORE riveting E-703 to E-704. This would have allowed easier access to the rivets with the squeezer. Unfortunately, I forgot and got to drill out one rivet-twice. Finally got it squared away and riveted the E-709 root rib to the spar making sure that the flush heads were forward so that the WD-605-1-R elevator horn would fit properly. The next step was to squeeze the two rivets top and bottom in the E-713 counterbalance skin and E-701 elevator skin while I could still get to them with the squeezer. Otherwise, I would have had to use pull rivets there. I had to stop on the right elevator at this point as I still don't have the screws to attach the counterbalance weight to the skin and ribs. I moved on to the bandsaw and cut two wood blocks to use in bending the ends of the trim tab and left elevator. I got an aerobatic video from the EAA today so I called it quits to go watch it.