Brief Description: Preparing Right and Left Elevators
To follow up on yesterday's log, the size of the galvanized pipe used to roll the leading edge of the rudder is 1". Joe had done "exhaustive research" on the best size of wooden dowel to use in bending the elevator trailing edge and 3/16" was the magic number. I am quite pleased with how they turned out.
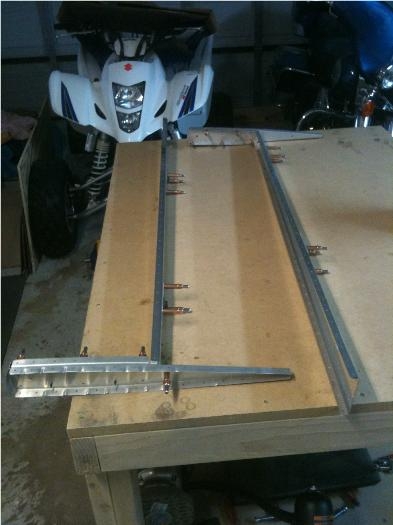
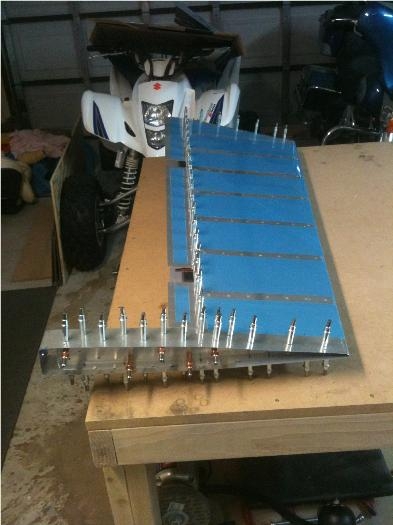
I began working on both the right and left elevators today. I clecoed the reinforcement plates and platenuts to the spars and drilled them before edge finishing and fluting the end ribs and counterbalance ribs. I took three tries to get the counterbalance skin properly attached to the ribs. Most of the holes lined up except for a few. This is generally a sure sign that you are about to make a mistake as Van's stuff is right on the money. When I finally got it aligned properly, I still had to wrestle with it a bit. I read on VAF that others have had the same issue. I coated a #12 bit in Boelube and drilled the holes in the counterbalance weight. I removed the weights and clecoed everything else back together and final drilled the structures and skins. At this point I set the left elevator aside and disassembled the right elevator. I dimpled the counterbalance skin for the screw heads that will attach the weight. Unfortunately, I am missing those screws along with the screws to attach the electric elevator trim servo. I am also missing the two z-channel servo supports (I'm the third owner of an unstarted empennage kit so over time the parts have grown legs and taken their leave). Another order to Van's for $10 in parts and $10 in shipping. I ordered a t-shirt to drive the total order up to $20 to reduce the ratio of shipping to items. It makes me feel somewhat better. I deburred the holes and called it a day.