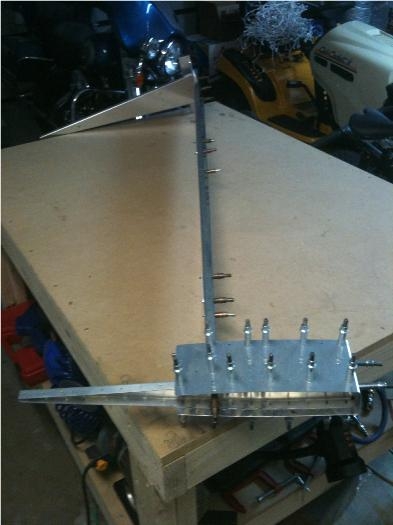
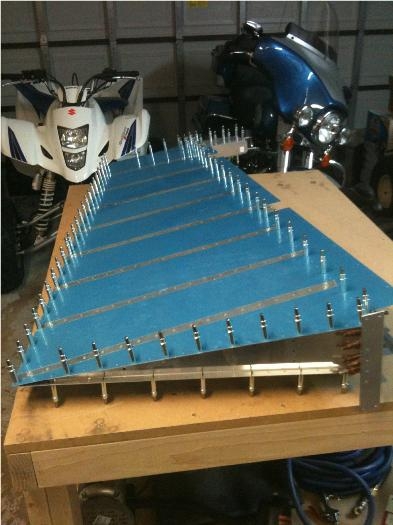
I started building the rudder skeleton today. I used a Unibit to enlarge the hole in the forward flange of the R-904 bottom rib to 3/8". I had previously fabricated the R-917 shim so I bolted the rudder horn to the rudder spar and final drilled the holes in the upper edge to #30. I had to slightly radius the top of the rudder horn so that it fit in the rib flange. As usual, the Scotchbrite wheel did the trick. I clecoed the spar, horn and shim together and drilled them to #30. Next came the reinforcement plates. R-606PP went on the flange side while R-607PP and R-608PP went on the rear of the spar. A couple of quick corrections with the fluting pliers and seamer and the tip and counterbalance ribs were good to go. I clecoed them to the assembly and drilled them to #30. The counterbalance skin needed a little convincing to cleco into place. I matched drilled the skin to the ribs with a #40 bit. The skins and rudder trailing edge got clecoed into place (see Image 2) and then I was able to drill all of the remaining holes in the rudder to final size. I used a Dremel tool to cut the excess material from the rudder brace and clecoed it to the assembly and match drilled the holes. The bandsaw made quick work of fabricating the rudder bottom attachment strips. I clamped them into place and drilled them to the skeleton. Now that it was all together it was time to disassemble the rudder, deburr the holes, and dimple the skin, spar and ribs. I started the process and then decided to call it a day about half-way through.