
|

|
|
|
My RV-8 Build Log
|
Date: 10-18-2014
|
Number of Hours: 4.00
|
Manual Reference:
|
Brief Description: ELT Remote Switch Bezal Install
|
|
Decided to create a 2.25" bezel to surround the remote ELT switch for the panel, and proceed with installing the ELT/battery unit.
• Used 2.25" hole saw to cut a bezel for the surround to the ELT remote switch.
• Using the remote switch template previously used to locate the switch to the instrument panel, locate the four holes for the screws which attach the switch to the panel.
• Drilled #40 the four holes in the 2.25" bezel.
• Clecoed the bezel to the earlier template, then drilled the rectangular opening using #40, and finished cutting with #30 to remove the unwanted material.
• Secured the bezel in the vise, so the material to file smooth was just above the vise, and used the file to smooth the surface opening. Test fitted several times as I wanted a close tolerance fitting, files all four sides of the rectangular opening.
• After successful testing fitting with both the remote ELT switch and the four holes previously drilled in the panel, covered the new 2.25" round bezel with special aviation black duct tape from hobby lobby, cutting the holes for the four screws and remote switch.
Installed in aircraft.
• Located the ELT/battery/braces in the aircraft immediately aft of the baggage compartment.
• Clecoed using side clecoes, and drilled using #40 for four AN470 rivets.
• Clecoed using #40 clecoes, then final drilled #30 for each.
• Disassembled and deburred, cleaned and reinstalled.
• Rivets using AN470 4-7 rivets to secure the ELT/battery/brace to the aircraft.
|
|
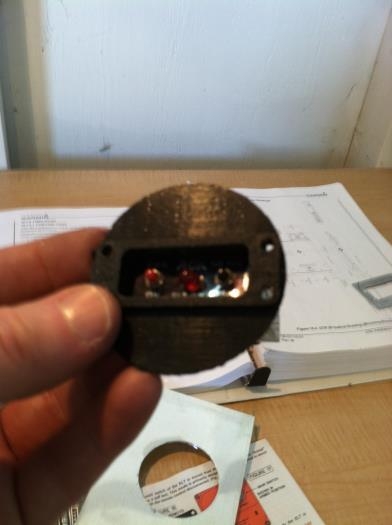
2.25" Bezal for Remote ELT Switch
|
|
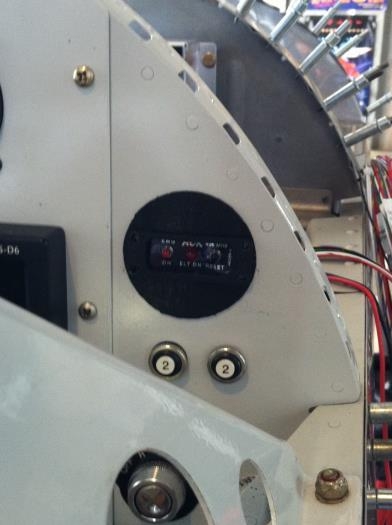
Remote ELT Switch and Bezal Installed
|
|
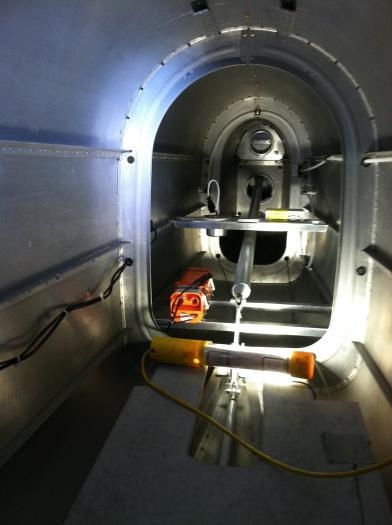
ETL/Battery Installed
|
|
|
|
|
|
|
|
|
Copyright © 2001-2024 Matronics. All Rights Reserved.
|