
|

|
|
|
My RV-8 Build Log
|
Date: 12-27-2015
|
Number of Hours: 5.00
|
Manual Reference:
|
Brief Description: Cowl Hinge and Top Skin Prep for Riveting
|
|
Proceeded with fitting the cowl hinge to the forward fuse and firewall flange. There are 6 hinges total, (2) top, (2) sides and (2) bottom.
For the top, cut 13.5 and 24 inch hinge per plans, for the sides, 15 inch, and the bottom is 6. Clecoed hinge in place using side clamps (initially) necessary because the rivet holes are already dimpled in the skin and firewall flange. Starting match drilling holed in each hinge and inserted clecoes during progression.
Removed hinges after all holed drilled, and counter sunk holes in the hinges in common with the skin/firewall flange. Test fitted each hinge, adjusted countersink as required to obtain flush fitment.
I am not at all clear on how the (2) bottom 6 inch hinge pins can be inserted into the hinge given the curve of the bottom of the fuse, and the proximity to the exhaust system... I may replace these (2) hinges to a couple of cam locks on each side...
Removed the baggage door, top skin baggage door supports, hinge support spacer from the fuse, in preparation for riveting in place, Sanded the glare shield side of the top skin (the visible part from inside the cabin, cleaned with acetone, primed and painted to match the interior using the same Tractor Supply Ford Light Gray.
Started removing all of the instruments and other behind the panel items that are in harm’s way when I start to rivet the top skin in place. The real fun part will be putting all the stuff back in after the skin it riveted into place. There is no other way I know of to do this...
|
|
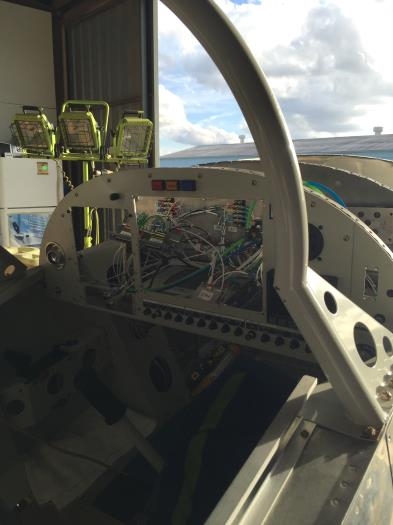
Instruments Removed in Prep for Riveting Top Skin
|
|
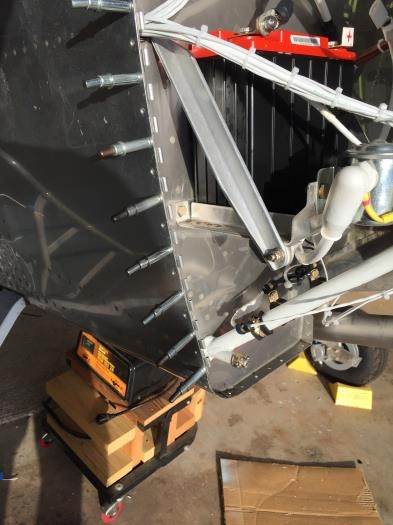
Cowl Hinge Fitting...
|
|
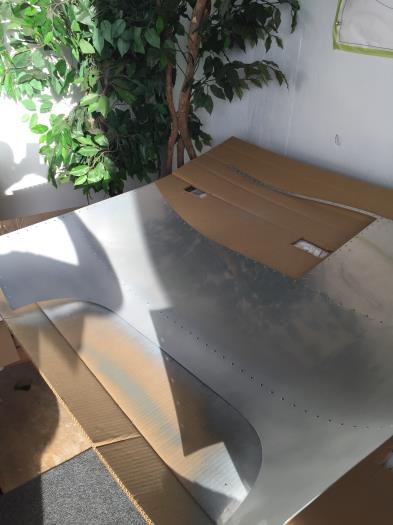
Top Skin Glare Shield Painting
|
|
|
|
|
|
|
|
|
Copyright © 2001-2024 Matronics. All Rights Reserved.
|