
|

|
|
|
My RV-8 Build Log
|
Date: 3-27-2016
|
Number of Hours: 6.00
|
Manual Reference:
|
Brief Description: Riveting Camloc Tabs to Bottom Cowl Sides
|
|
After locating all holes for the camloc tabs on the lower cowl for the left and right side, countersunk each rivet hole, just a tad deep so I can cover, sand, prime and paint later.
Riveted the camloc tabs in place, using two different size rivets taking into account where the tabs overlap.
Test fitted the upper cowl, quickly determined that the top cowl has a reinforcement band which is quite a bit thicker than the fiberglass layup. Made a cardboard template using a spare tab, and then marked the outside of the upper cowl where the relief is required. Remove the upper cowl, and used the template to mark the inside of the upper cowl where relief is required.
Use a 90 degree die grinder and #40 grit attachment to carefully relieve the built up area that conflicts with the tabs of the lower cowl.
Re-fitted the upper cowl, the camloc tabs now fit nicely into the relief of the upper cowl.
Next is to locate the pilot holes in the upper cowl for the camloc receptacles, to do this accurately, I'll need to reverse light the tabs and make sure there are no shadows.
|
|
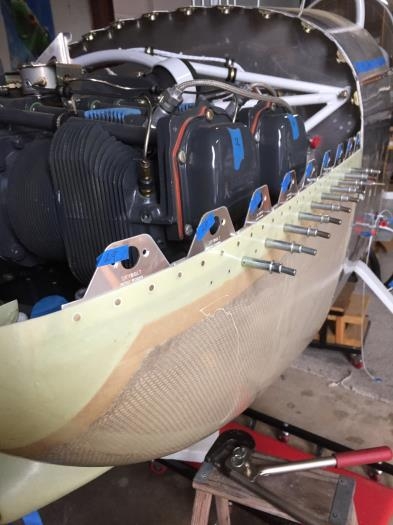
Left Side Camloc Tabs Riveted
|
|
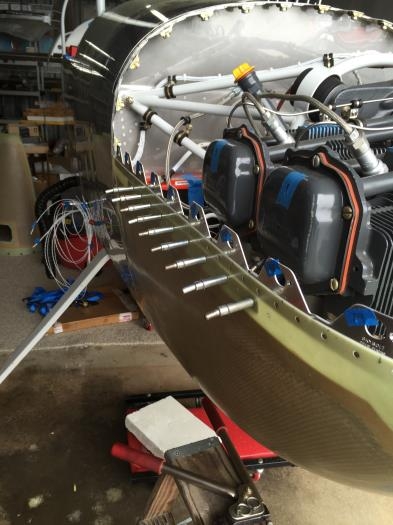
RIght Side Camloc Tabs Riveted
|
|
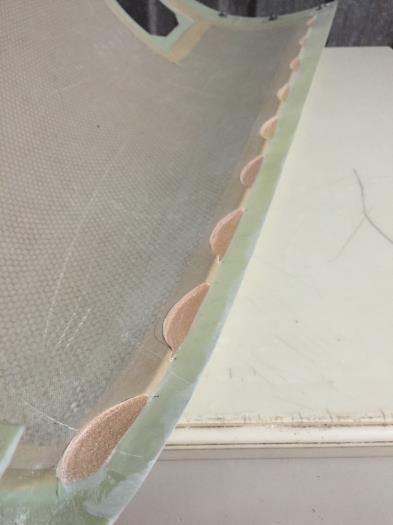
Relief for Camloc Tabs in Top Cowl
|
|
|
|
|
|
|
|
|
Copyright © 2001-2024 Matronics. All Rights Reserved.
|