
|

|
|
|
My RV-8 Build Log
|
Date: 1-6-2019
|
Number of Hours: 5.00
|
Manual Reference:
|
Brief Description: Control Surfaces Re-Install
|
|
Re-installed the control rods for each aileron and inside the fuse for the rear control stick to the mid fuse bell crank. This required a bit of finagling as the rear control stick weldment needed some adjusting to allow for the rod end bearings and washers to be installed. I used a small wood block and rubber mallet to open the weldment a bit, then re-installed in the fuse. I was then able to install the control tubes from the rear control stick weldment to the mis fuse bell crank.
Installed the AN hardware for the aileron control tubes, first in the fuse, then in the wings at the bell crank.
Next, I attempted to re-install the GSA 28 pitch servo at the mid fuse bell crank, and immediately realized the bell crank was backwards. Of course, this meant I had to remove the rear control stick weldment to again open the gap for the rod end bearing. Did all this and reinstalled the weldment, then the control tube, then finally the GSA 28 pitch servo.
Proceeded with re-installing both flaps, and both ailerons. Re-installed the wing bell crank to aileron control rods. Afterwards, I pull the right flap up to the flap fairing and clamped, then adjusted the right aileron flush. On the left side, I pulled the flap up to the flap fairing, and was very happy to confirm the left aileron was flush with left flap.
|
|
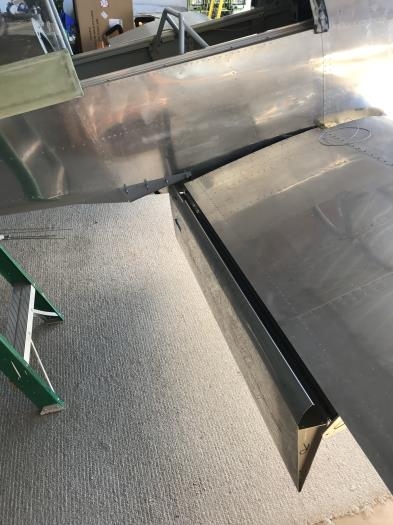
Right Flap Re-installed
|
|
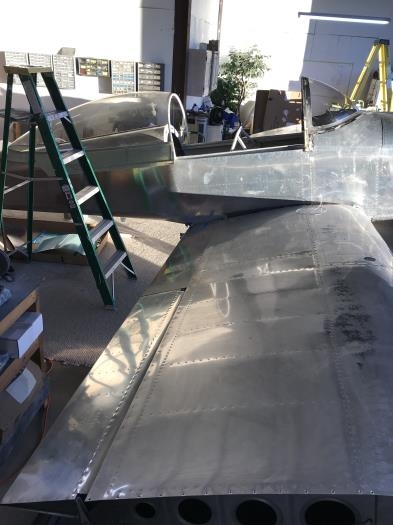
Right Flap and aileron flush
|
|
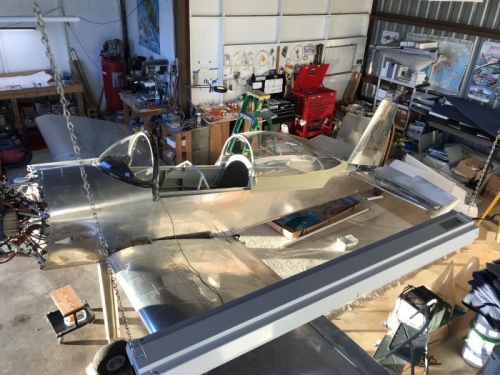
Flaps and ailerons installed and in agreement
|
|
|
|
|
|
|
|
|
Copyright © 2001-2024 Matronics. All Rights Reserved.
|