
|

|
|
|
My RV-8 Build Log
|
Date: 9-4-2017
|
Number of Hours: 5.00
|
Manual Reference:
|
Brief Description: Intersection Fairings - Fitting and Trimming
|
|
After a day of drying, the joint compound was ready for sanding. Used some 120-grit glued to 1.2" PVC, as well as loose paper to create a shape that was pleasing to the eye. After sanding both the left and right sides, decided to add some more compound to fill out the shape, after I get the shape that I want, I will use them as the mold to lay 9 oz. cloth and epoxy to create the intersection fairing.
While the newly added compound is drying, moved to the emp fairing, which is a single fiberglass fairing the goes around the VS and trails down both sides of the emp covering the gap between the VS and HS. There is a scribe line on the raw part, I high-lighted with a fine point sharpie, then secured the part fo a wood block, and proceeded with trimming the part using the Dremel cut-off wheel. Sanded the edges with a sanding block.
The bottom of the HS has an aluminum fairing, which, as far as I can tell now, are the last two pieces of aluminum still having the blue plastic attached. There are two matched holes with the fuse, clecoed the fairings and marked the trim line. Remove and trimmed per markings, files the edges for a smooth appearance, 3M grinded the edges, then matched drilled in place #30 holes in preparation for AN507 #6 screws. The fairing attach screws are not using platenuts, rather the longeron is tapped for the screws.
|
|

Sanded and added more compound
|
|
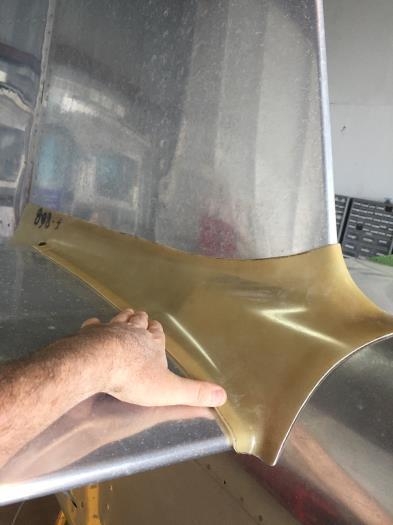
Test Fitting the Emp Fairing after Initial Trim
|
|

Fitting the Emp Lower Fairings
|
|
|
|
|
|
|
|
|
Copyright © 2001-2024 Matronics. All Rights Reserved.
|