
|

|
|
|
My RV-8 Build Log
|
Date: 1-3-2016
|
Number of Hours: 5.00
|
Manual Reference:
|
Brief Description: Interior Floor Panels
|
|
While waiting for a partner to rivet the top skip, decided to finally rivet the rear floor in the fuse. I had put this off, thinking that it was best to delay as long as possible, just in case it needed to be removed. However, I have already run all of the wiring through the rear floor that goes towards the aft, and there is no way I am going to take out the floor now without a major headache.
I Clecoed the floor in place, inserting the required spacer on the right side of the rear seat back hinge. Use the pneumatic river to set the LP4-3 rivets, which made easy work of this task.
As a consequence of putting the floor in place without installing the nut plates for the forward floor, I have, as they say, a bit in the weeds, as to how the forward floor nut plates will be riveted.
Related, the aft edge of the forward floor is supposed to be sandwiched under the elevator control tube main brace (pic 2). I am not really fond of the prescribed arrangement since it would mean removing the forward two bolts of the main brace each time the forward floor is removed for inspection, which I assume is at least each condition inspection.
I decided to trim the aft edge of the forward floor about 1", just enough by a 1/4" to clear the main brace. I used aluminum angle and riveted a trailing edge support on the front floor. I drilled two additional holes for nut plates at the trailing edge corners.
I am installing the nut plates for the trailing edge of the forward floor, in common with the rear floor by drilling through all common parts. Because of the lack of foresight here, I have to countersink starting with the rear floor skin, underlying spacer and then floor support angle.
Right side counter sinking went fine, left side, well; let’s just say counter sinking skin is too easy to over-do, which I did. What to do... Taped the bottom side of each hole, used J-B Weld to fill the over-countersunk holes, let set up. Next day I re-drilled the holes for the AN3 rivets, and countersunk, which worked
|
|
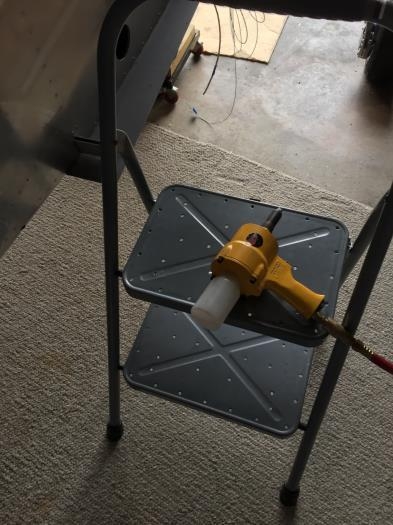
Blind Riveter Best Friend
|
|
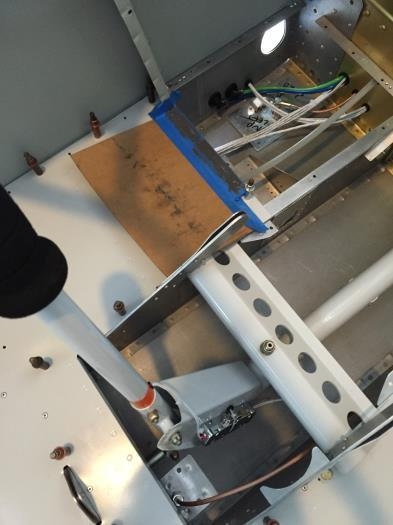
What's that Gray/Green stuff?
|
|
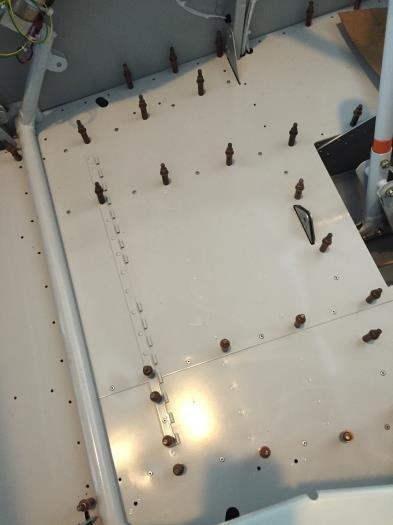
Past time to rivet the rear floor
|
|
|
|
|
|
|
|
|
Copyright © 2001-2024 Matronics. All Rights Reserved.
|