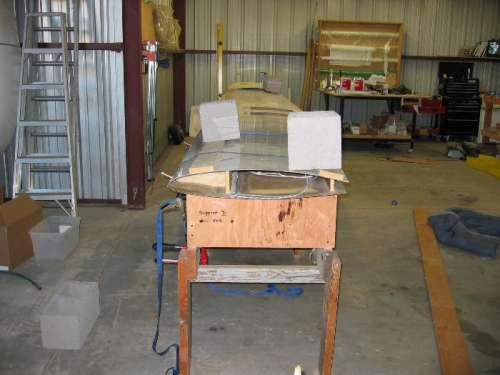
After the jig was leveled I put the wing back on the jig. The wing required some light motivation to set against the wing saddles the way it should. I used concrete fence block and rachet straps to convice the wing to set in the jig perfectly. After all was secure to the wing saddles I used a fillet of bondo to fix the bottom wing skin against the saddles. Hopefully after letting the wing sit like this for a couple of days it will take a set and the bondo fillets will hold it firmly to the saddles. After bonding on the top skins the wing will become rigid and hopefully set in the jig properly without the straps and blocks!
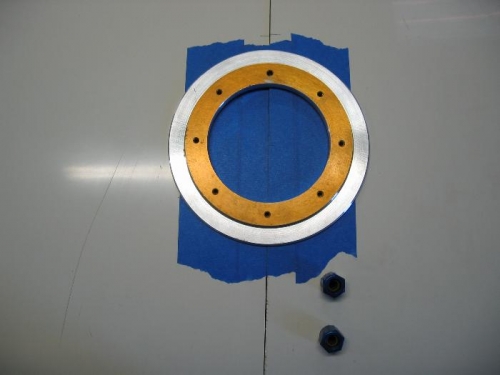
I also laid out the lcation of a fuel tank flange that will serve to mount the main tank standpipe. The hole is close to the main spar shear cap unidirectional. I will check the position of the hole on the bottom side of the skin to make sure I won't be cutting into the spar cap and adjust the position if necessary. The standpipe is actually a GII part that will provide the ability to gauge all the fuel and provide a backup vent for the main tank. The G1 solution mounts a float gauge in the top skin between the pilots legs on the top skin. Because of the wing dihedral only the lower 1/2 of the tank would be gauged.
Wing in Jig with blocks and straps
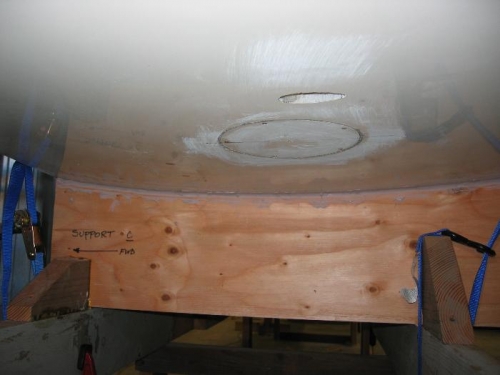
Bondo Fillet on 'C' support, inspection cover and pitot tube mount hole in foreground
Standpipe Flange In Place on topw wing skin, fuel vent tube fittings in forground