My friend Rob tack welded my pitot mount for me. I then cleaned off the mill fiber tacks that I had used to hold the mounting plate in position for tack welding. I sent the ready to finish weld mount home with Rob to finish weld. At the hanger I started looking at the centerline joint on the two upper wing panels. There was a gap of close to a 1/4 inch between the panels. The LH panel end was pretty straight and landed right in the center of the center rib. The RH panel edge was not so straight. I transferred the LH panel edge onto the RH panel using a flexible straight edge. I then measured the minimun distance from the transfered line to the RH panel edge. I used this dimension to draw another line right next to the panel edge. I sanded to this line. This resulted in a straight panel removing the minimum amount of material. The resulting fit of the centerline seam was much better with a gap of about 1/16 of an inch.
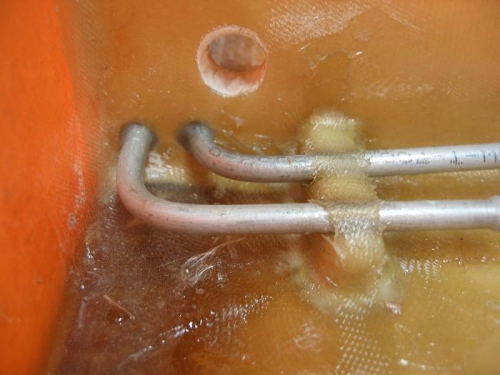
I mixed up some cabosil and loaded into a syringe and filled all the holes in the ribs were the pitot static tubes run. This completes the pitot static tubing.
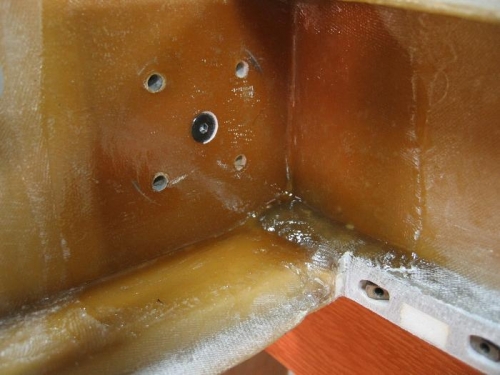
I mixed up some pure resin which I thinned down a little with acetone. I painted this thinned mixture on the landing gear trunion mounts just to seal them after the extensive sanding for landing gear fit. I used a thinned resin so as not to build up any significant thickness which would mess up all my careful sanding and fitting.