Brief Description: Rear Fuselage Top Skin & Rear Fuselage Assembly
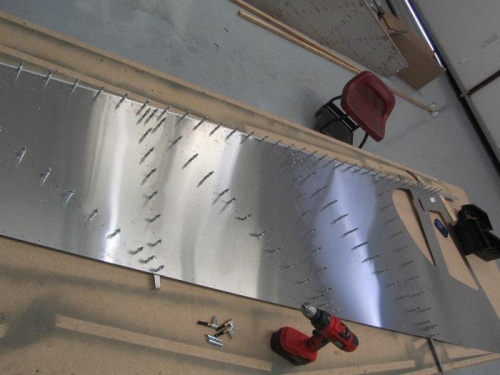
Install the lateral L angles and diagonal L angles to the Top Skin as previously done on the other Rear Fuselage Skins. The lateral L angles overlap the Longeron rivet lines. The diagonal L angles do not overlap any other parts.
Cleco the Rear Side Skin to the Rear H.T. Frame. Check the bottom of the Rear Side Skin to be sure it is positioned correctly on the Longeron. The Skin edge should be against the lip on the Longeron at the start of the radius. With a #30 drill bit, back drill through the Rear Side Skin into the Longeron and Cleco. With a #20 drill bit, expand the holes through the Rear Side Skin into the Rear H.T. Frame and Cleco.
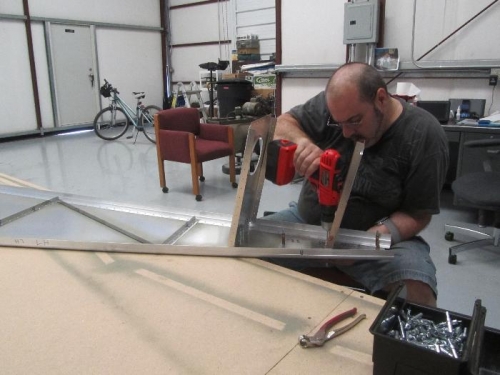
Cleco the Side Skin to the Forward H.T. Frame and to the Rear Side Skin. A 2”x4” has been screwed to the work bench with another board screwed to it to clamp the Side Skin to. This will support the front end of the Side Skin. Check the bottom of the Side Skin is positioned correctly on the Longeron, the Side Skin should set against the lip on the Longeron. With a #30 drill bit, back drill through the Side Skin into the Longeron and Cleco. With a #20 drill bit, expand the holes through the Side Skin into the Forward H.T. Frame.
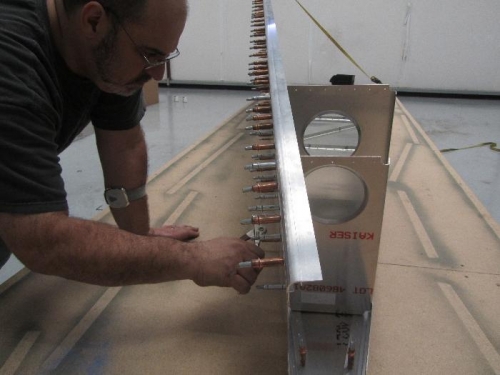
Cut an L angle to fit between the H.T. Frames on a diagonal. Draw a center line on one flange and position it over the holes on the Side Skins. With a #40 drill bit, back drill through the Side Skins into the L angle and Cleco the L angle to the Side Skins. With a #20 drill bit, expand the holes and Cleco.