Today, I attached the canopy side rails. I started by removing the rails and making the forward notches in them just a bit taller, so they completely cleared the base of the rollover bar. I then placed the rails in position and carefully measured their distance apart to make sure they were parallel and the correct distance apart. It turned out that the canopy frame rollers moved much more easily with the rails about 1/16" closer than the plans called for.
With the canopy rails positioned and duct-taped down, I drilled the 12 attach holes and enlarged them to #19 for the screws. Thanks to my friend Jim for the assistance with the fitting and drilling process.
Finally, I trimmed the aft outboard parts of the rails, where they hung over the edge of the fuselage. I also filed the notches for the screw heads at the aft end of the rails.
The canopy rails are now trimmed and fitted.
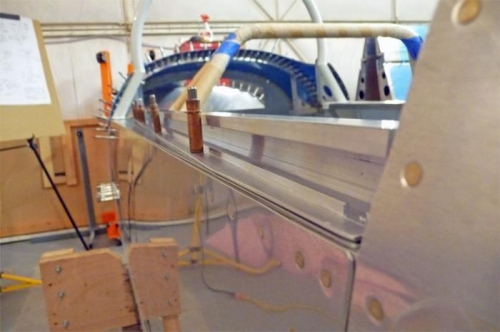
Part-way through the process of enlarging the attach holes.
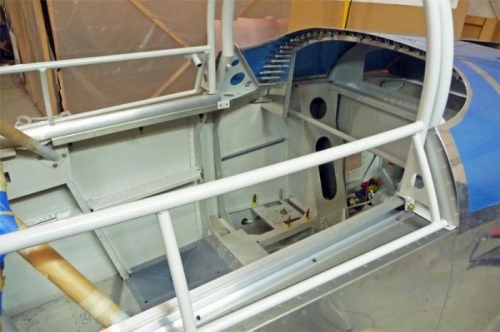
The canopy slides pretty well with the rails clecoed in place. (The clecoes are underneath.)