
|

|
|
|
Buck's RV-8
|
Date: 5-1-2009
|
Number of Hours: 2.10
|
Manual Reference:
|
Brief Description: Aft canopy slide rail; side rails
|
|
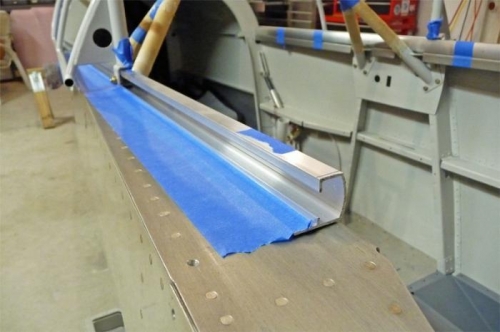
Today I backdrilled the last slide rail support mounting hole, up through the fuselage and through the aft canopy slide rail support. Next, I assembled the slide rail and the support piece by setting all the double-flush rivets. (I discovered that, although Vans calls for AN426AD3-6s here, 3-6s are too short. 3-7s work much better.) With the exception of countersinking the screw holes and chrome-plating, the aft slide rail is complete.
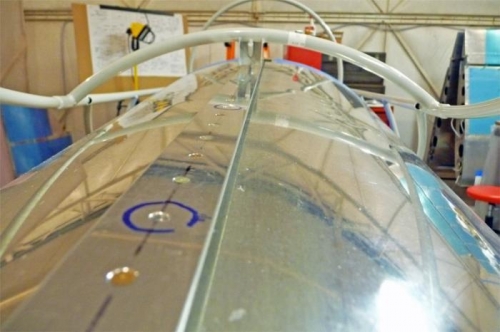
Next, I cut the canopy side rails to length per the plans. With help from my friend Jim, I positioned the rails on the fuselage and taped them in place to check the fit of the canopy frame. I assembled the canopy rollers and temporarily installed them in the frame. Then we put the canopy frame on the rails and slid it back and forth to check its operation. After tweaking the rail position, the canopy was still a little sticky near the middle of its travel, but I think this will get better with time and prooper lubrication. I'll play with it a bit more next time.
|
|
Aft slide rail, almost ready to be installed.
|
|
Side rails taped in place to check the operation of the canopy.
|
|
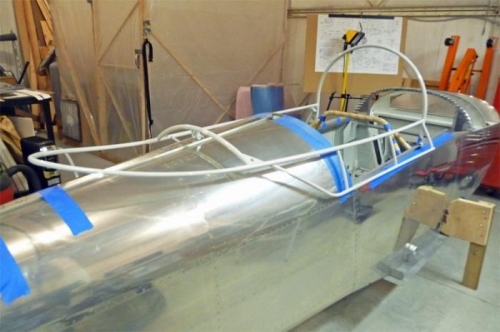
Hey, that sort of looks like an airplane!
|
|
|
|
|
|
|
|
|
Copyright © 2001-2024 Matronics. All Rights Reserved.
|