
|

|
|
|
Buck's RV-8
|
Date: 6-28-2008
|
Number of Hours: 5.50
|
Manual Reference:
|
Brief Description: Landing gear
|
|
Today was another nice milestone in the construction of N18XL -- I began mounting the landing gear legs.
First, I drilled the second inboard wear plate (the one I couldn't drill last night), and this time I used the proper tool. Here's a big tip -- when you're drilling 4130 steel, do NOT compromise with either the drill motor or the drill bit. A 7/16" Cobalt bit costs about $8.00, and it's worth every penny. I also upgraded to a 1/2" Bosch heavy-duty electric drill. The combination of slow speed, high torque, and a sharp, new bit made all the difference. The steel wear plate was downright EASY to drill. Steel chips flew everywhere.
Next, I leveled the fuselage, mounted the gear legs, and attached each of them temporarily with a single 7/16" bolt. I then began aligning the legs by clamping a pair of 6' steel angles to the outboard flat surface of the bottom of the gear legs. I leveled them and dropped plumb bobs from each end, and dropped two more from the forward and aft ends of the fuselage centerline. I played with the measurements for a couple of hours in an effort to get everything perfectly aligned, but I realized that mounting the gear while the fuselage is on the rotisserie is not ideal. There's a slight amount of slack and wobble that I can't eliminate. I began building a custom sawhorse to go underneath the forward fuselage. It's made from the remnants of my tail jig. (Remember those?)
|
|
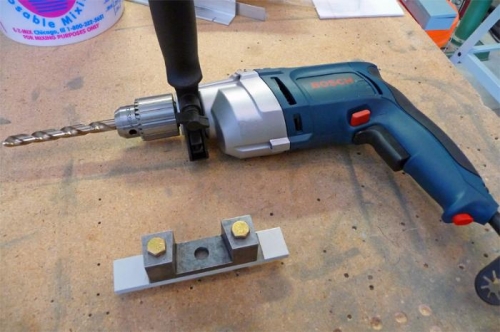
The right tool for the job!
|
|
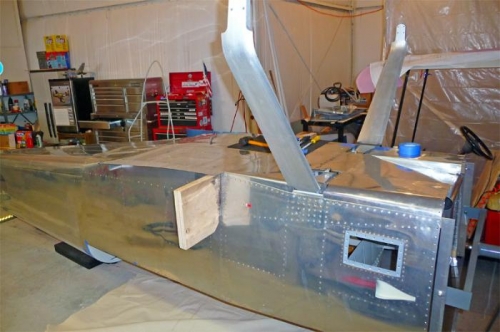
The fuselage has grown gear legs!
|
|
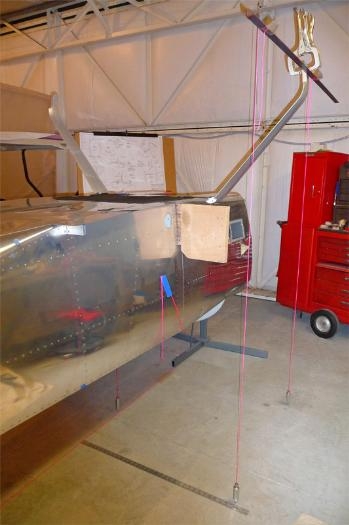
My method of aligning the gear.
|
|
|
|
|
|
|
|
|
Copyright © 2001-2024 Matronics. All Rights Reserved.
|