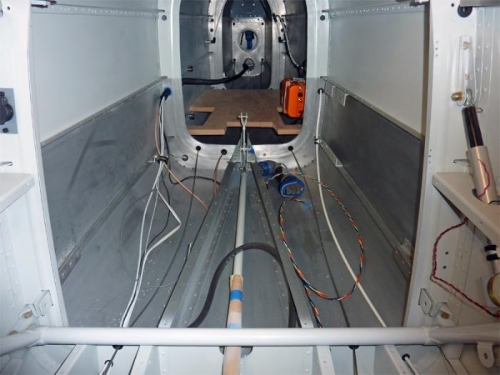
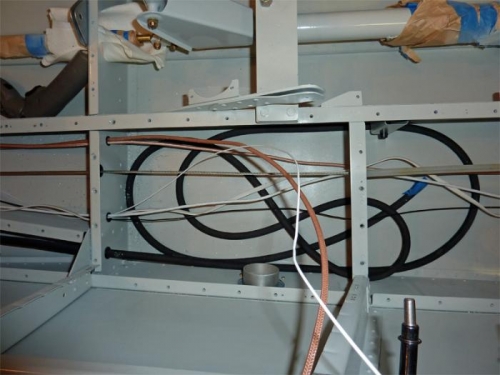
Lots of progress today. I installed about a dozen pass-through holes and snap bushings in the fuselage under-floor area for the wires that will run from the aft baggage area forward. Then I ran the first half-dozen wires/coax cables along their proposed routings. I identified several places where I'll have to get creative with standoffs and such, but basically everything should be straightforward.
The toughest part of wiring a modern, advanced technology homebuilt is making sure you comply with the avionics manufacturer's requirements for EMI/RFI (Electromagnetic Interference / Radio Frequency Interference.) Certain units have minimum distances from power cables, and other units' mounting requirements do not necessarily allow you to make this happen all the time. Everything is a compromise, but you just do the best you can. For instance, where possible, I've tried to make the power wires cross any coaxial cable at a 90-degree angle to minimize interference.
I installed the ELT for what I think is the final time, and also installed an Adel clamp on the forward end of the aft fuselage wiring conduit, securing it to the sidewall.
Finally, I installed a BNC connector (and a 90-degree adapter) to the end of the transponder coax and attached it to the belly antenna.
Wiring is starting under the aft baggage compartment.