
|

|
|
|
Buck's RV-8
|
Date: 3-2-2011
|
Number of Hours: 7.50
|
Manual Reference:
|
Brief Description: Mounted wings
|
|
Today was a momentous day in the project -- mounting the wings. Thanks to some good help (in the form of Tom, Chris, Luke and Eric) we pulled off the job with very few hitches. Some steps of the process were nearly miraculous -- for instance, the sweep was nearly perfect the first time I measured it, and remained very close to perfect all day. We managed to get all measurements within about 1/32" and/or 0.1 degree, which is as close as I think anybody could reasonably get them. Just after my assistants left and I decided to drill the aft spar hole, it didn't look like I was going to have the required 5/8" vertical edge distance on the aft spar of the right wing, by a tiny amount. I sat back and pondered why this might be, and what I might be able to do about it. I checked the fuselage level, and discovered that the tail had settled 0.1 degree at some recent point. After shimming it back of to zero, I re-measured the wing angle of incidence and, as I'd hoped, was able to lower the aft spars enough to comfortably get the required edge distance. Problem solved. (I wouldn't have thought that 0.1 degree on the fuselage would result in such a difference at the wings, but it does.) Everything went well with the actual drilling process. I used a set of straight reamers (0.309", 0.310", and 0.311") to sneak the holes up to their final size. Thanks to Tom for coming back to the shop to help me out.
After the wings were on, I was going to start drilling the screw holes on the bottom fuselage/wings skins, but there's a 1/4" gap between them, so I'm going to do some more thinking before I drill anything.
|
|
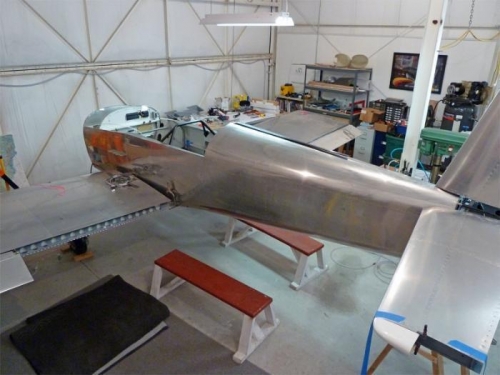
It really looks like an airplane now.
|
|
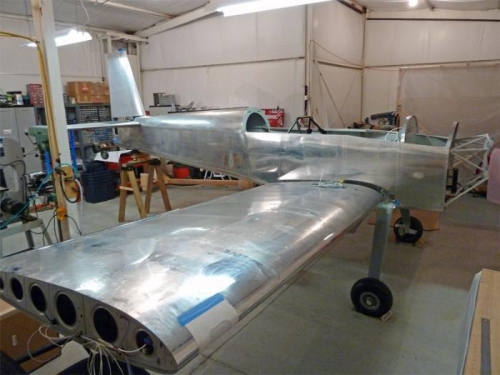
The tail is waaaay up there when the fuselage is leveled.
|
|
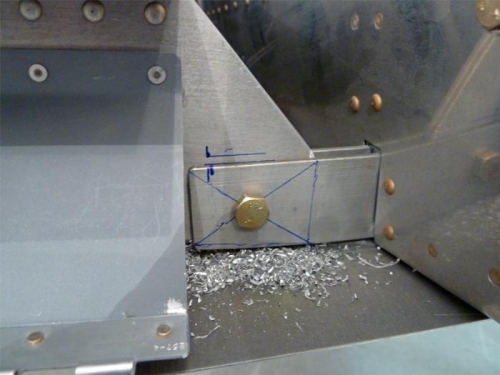
All of today's work is distilled in the installation of this bolt (and its twin on the right wing)
|
|
|
|
|
|
|
|
|
Copyright © 2001-2024 Matronics. All Rights Reserved.
|