
|

|
|
|
Buck's RV-8
|
Date: 9-24-2007
|
Number of Hours: 1.50
|
Manual Reference:
|
Brief Description: Aileron pushrod and alignment; hanging the flap
|
|
I attached the small aileron pushrod to the bellcrank, with the aileron alignment jig installed, then adjusted the pushrod length in order to line up the tooling holes in the end rib.
Once this was done, I tightened down the jam nut on the pushrod, and marked the pushrod so when I assemble it all again, I'll know which one is left and which is right.
Next, I clecoed the flap brace to the wing, then temporarily mounted the flap. I attached it to the wing with a couple of side-grip clecoes, then fine-tuned its location so I have a nice, straight trailing edge line and a 1/4" gap between the aileron and flap. Then I marked the skin line on the hinge for reference.
In the next few days, I'll try to get some assistance for the next step, drilling the flap hinge to the wing.
|
|
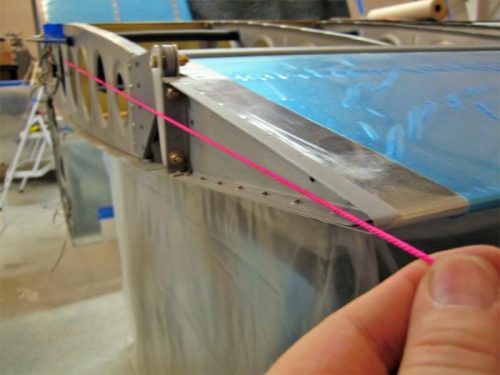
A tight string from the forward tooling hole is all you need to get a good aileron alignment.
|
|
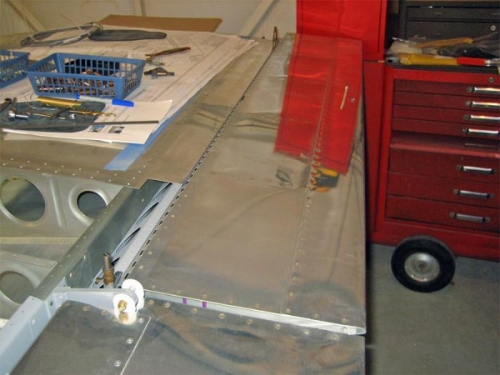
The flap is attached for the time being with two side-grip clecoes.
|
|
The goals: A nice straight 1/4" gap and a straight trailing edge.
|
|
|
|
|
|
|
|
|
Copyright © 2001-2024 Matronics. All Rights Reserved.
|