
|

|
|
|
Buck's RV-8
|
Date: 1-5-2007
|
Number of Hours: 1.40
|
Manual Reference:
|
Brief Description: Hanging the flap
|
|
It was flap-mounting day today! Here's how I did it (with help from my friend Jim):
First, I placed 5 clecoes holding the outboard end of the flap brace on the FRONT side of the spar, in order to to get them out of the way. I clecoed the bottom outboard wing skin in place. After holding the flap in position, I determined that the new, deeper flap hinge I installed is actually a bit TOO deep and is hitting the flap brace, knocking the brace slightly out of alignment with the skin holes. I removed the hinge and trimmed off about 1/8" of its depth with a belt sander. Next, I temporarily pop-riveted the flap brace to the spar in five locations -- this should hold it in place along its full length, and I can remove the rivets easily later. I re-mounted the flap, lined up the trailing edges of the flap and the aileron, verified the proper 1/4" spacing from the aileron, verified the distance between the wing skin and the flap skin was constant for the whole length of the flap, and clamped it all in place with two side-grip clecoes.
Now the fun part: Jim held the flap up at a 90-degree angle to the wing (in the "flap 90-degrees down" position, actually, since the wing is upside down) and reached up from underneath with one hand to apply slight upward pressure to the hinge. With the other hand, he pushed down from above. I verified the holes in the flap brace and the skin were lined up, then drilled and clecoed one hole on each end of the hinge to establish that the assembly was straight. After checking the alignment again, we continued drilling and clecoing all of the holes this way.
The results are really nice. The flap/aileron trailing edge is straight as an arrow, the flap moves with no hint of stiffness or binding, and the whole assembly looks great.
I removed the flap and wing skin, drilled out the temporary pop-rivets in the flap brace, and removed most of the clecoes in the brace to prepare for deburring and dimpling the trailing edge of the wing skin, and countersinking the flap brace.
|
|
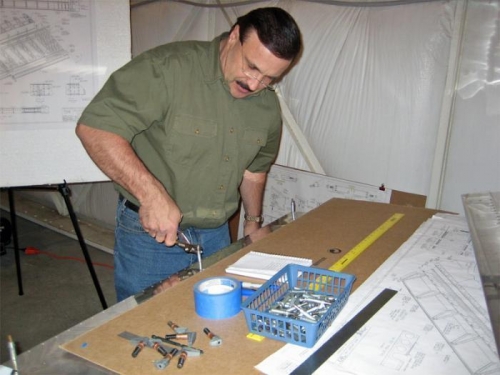
Jim removes clecoes holding the flap brace. Brace was later held in place on the spar with pop rivets.
|
|
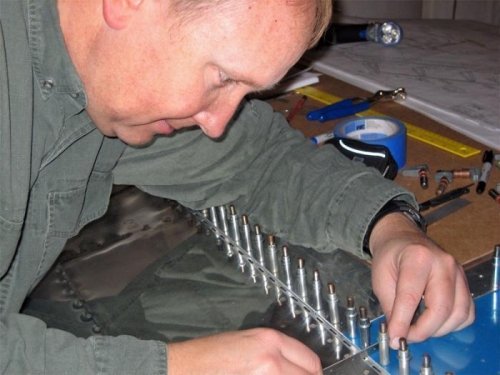
Checking the gap between the flap skin and the wing skin.
|
|
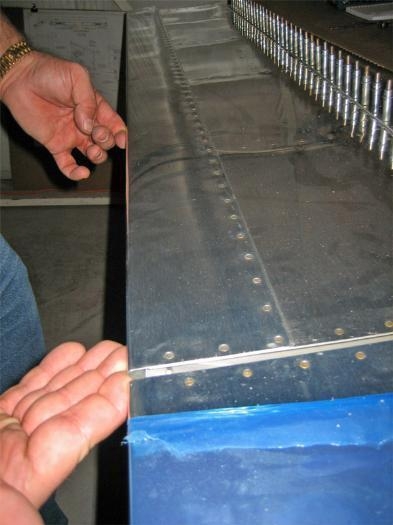
The trailing edge of the flap lines up perfectly with the aileron.
|
|
|
|
|
|
|
|
|
Copyright © 2001-2024 Matronics. All Rights Reserved.
|