Brief Description: ELT wiring; aft wire cleanup and clamping
I spent over three hours deep in the aft fuselage today, a place I hope I will shortly not have to revisit ever again. :-)
Tasks accomplished:
- Modified work floorboards so they'd fit with new Adel clamps and autopilot servo in place. - Added second tie-wrap to mid-conduit support. - Installed ELT. - Installed ELT antenna coax cable along left side of fuselage. Aft to forward, it is supported by the bulkhead connector, a stick-on tie-wrap base, a rubber grommet through a bulkhead -- then it's tie-wrapped to the static line the rest of the way. I generally don't like stick-on tie-wrap bases, but there simply is no other way to install a clamp way back there. - Plugged RJ-11 remote control wire into ELT and began running it forward. Installed the first of several Adel clamps for this wire. Drilled holes for several more. - Installed strobe power unit. - Repositioned static line around strobe unit. Added anti-chafe tubing and Adel clamps to keep it clear. - Drilled holes in old strobe-mount angles for several Adel clamps that will support the magnetometer wires. - Installed two Adel clamps in the tail cone. One is the right lower longeron and the other is in the edge of the large lightening hole in the aft deck. These will keep the tail wiring well away from the elevator pushrod.
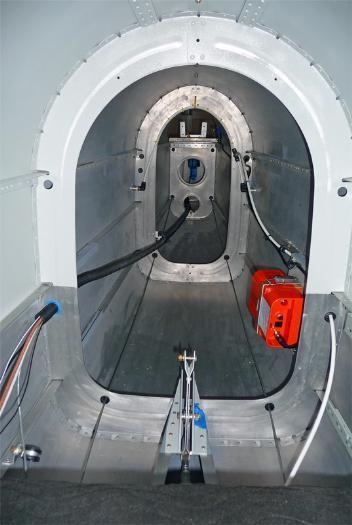
Overall view of tail wire routing so far.
ELT and antenna coax installed.
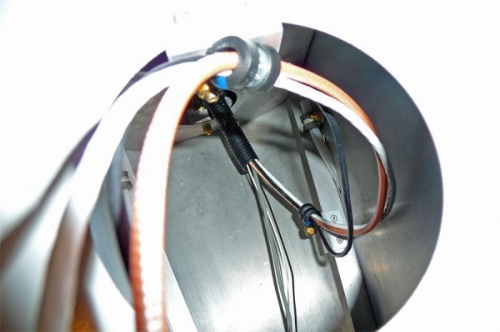
Preliminary routing of wires from aft conduit up through aft deck hole. They'll be tie-wrapped later.