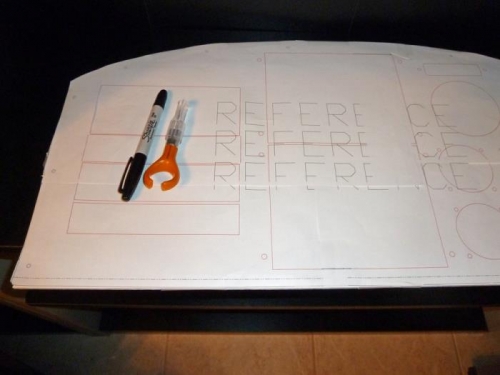
With my new full-sized template in hand, I decided to cut a test instrument panel so I can do some trial fitting of my avionics. This can be critical in the RV-8 because of a cross-brace that limits the available depth in one particular location.
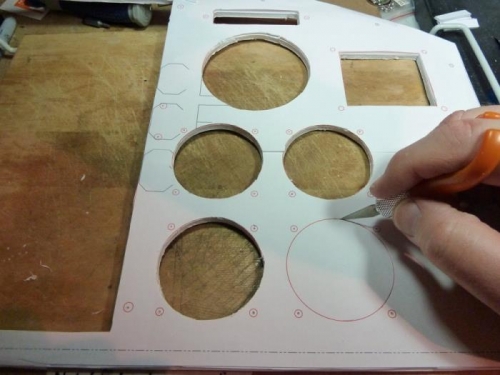
I taped the template to a piece of 1/4" foam-core art board, then manually cut out all the holes. I'll begin test-fitting the actual avionics boxes inside the airplane shortly. The foam-core is not strong enough to do all them simultaneously, so I'll do them one at a time.
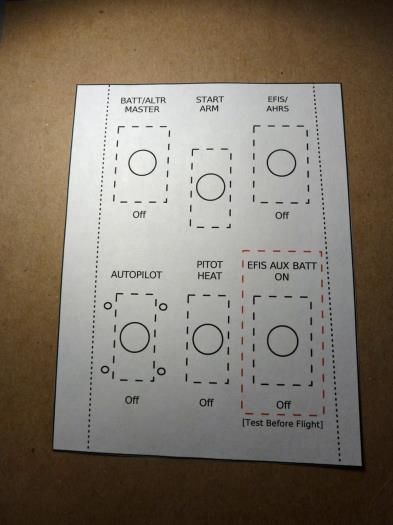
I spent the rest of my evening creating a full-size template for my right-side switch panel. This panel is a bit of an odd shape, so careful measurement was required. Also, there are some underlying support angles that had to be accounted for, and some line-of-sight issues for the labeling. Photo 3 shows what I came up with. Once I test the template in the airplane, I'll finalize this layout. (The "Start Arm" switch is lower than the other two on the top row because of a flip-up switch guard that is fitted over it. Visually, it lines up with the others when the guard is closed.)
I mounted the full-size template to a foam-core board.
Cutting out the instrument holes.
Full-size template for my right-side switch panel.