
|

|
|
|
Buck's RV-8
|
Date: 1-22-2015
|
Number of Hours: 3.10
|
Manual Reference:
|
Brief Description: Flap/trim microswitches; NACA scoop
|
|
After letting the filler dry on the fuselage NACA scoop, I finished sanding it, cleaned it, masked it, and shot some primer on the whole area.
I spent the rest of my time installing my custom flap and trim microswitches, and the actuating arm for them. It was a bit tricky to get it done with only two hands, but I finally got what I think is a very robust installation. Some tips for anyone doing this style of installation:
1. Use star washers between the aluminum angle and the Adel clamp (on both sides). This will help prevent any movement of the clamp. It basically makes the clamp and the actuating angle into one stiff piece.
2. Use a #13 Adel clamp on the flap arm, not the #14 I initially used.
3. Don't worry too much about getting the angle to hit both switches exactly at the same time. The flap motor actuation point is the critical one in my application. The actuation point of the trim system switch is not critical. Besides, if one of the switches actuates at the wrong time, you can always file a bit of the angle away on the side that is actuating "early."
4. Label the switches NOW, so you don't forget which one is which 10 years from now, when you're trying to service the system.
|
|
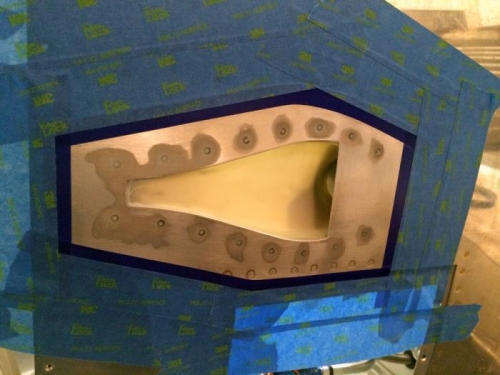
Rivets were filled, sanded and masked,
|
|
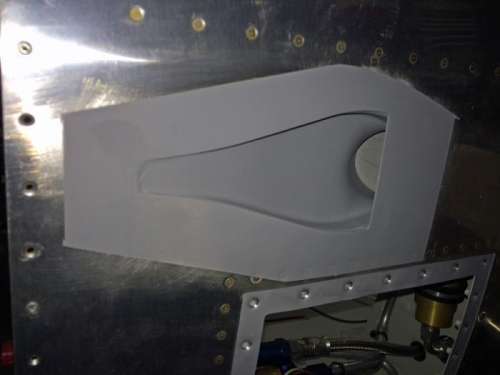
NACA scoop is done.
|
|
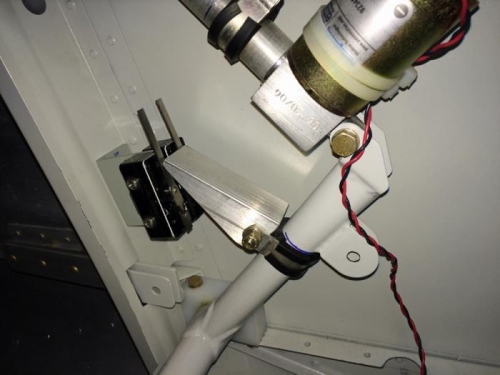
The microswitch installation is done!
|
|
|
|
|
|
|
|
|
Copyright © 2001-2024 Matronics. All Rights Reserved.
|