
|

|
|
|
Buck's RV-8
|
Date: 12-9-2014
|
Number of Hours: 3.50
|
Manual Reference:
|
Brief Description: Wingtip nav light lens
|
|
I decided to cut and fit the nav light lenses today. (In the end, I only finished the right one.)
I had already cut the large piece of plastic into two halves, so I took the "right wingtip" half and taped it into place on the wingtip. I drew a rough cut line on the lens with a Sharpie, then cut away the excess material with my bandsaw. Then I spent the next couple of hours progressively trimming and fitting the lens to the wingtip until it fit like a glove. I mostly used a belt-sander, followed by 80-grit and 400-grit sandpaper blocks. I also used Avery's fiberglass edge tool to finish off the edges.
Fitting the lens is simply an iterative process. Fit, mark, sand. Fit, mark, sand, etc. Many people seem to get the lens trimming done in an hour or so, but I have a bit of OCD about wanting to make them perfect, and also not wanting to scratch the plastic lens, so I spent a lot of time keeping every square millimeter of it covered with tape as the line moved, and using fine-line tape to create a precise sanding edge each time. That kind of detail is probably not needed, but it makes me feel good.
I also sanded the small areas on the left wingtip where I applied filler last night.
|
|
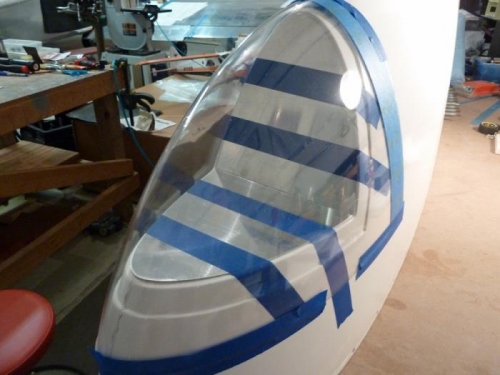
R wing light lens taped in place for initial marking.
|
|
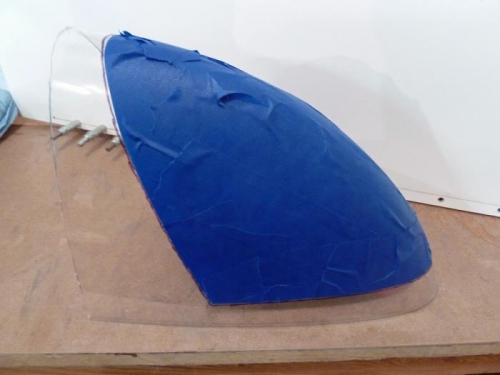
Lens has been marked and is ready to trim. The tape will protect the lens from scratches.
|
|
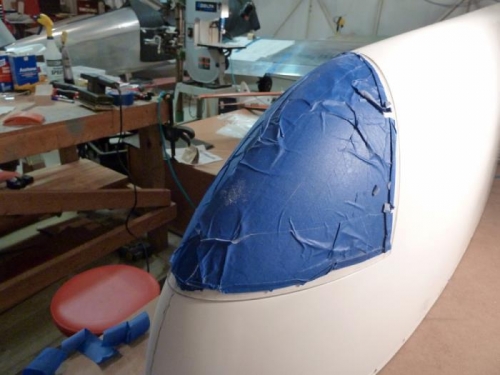
The lens now fits nicely! I will remove the blue tape after I drill the mounting holes.
|
|
|
|
|
|
|
|
|
Copyright © 2001-2024 Matronics. All Rights Reserved.
|