
|

|
|
|
Buck's RV-8
|
Date: 11-20-2014
|
Number of Hours: 3.20
|
Manual Reference:
|
Brief Description: Left wingtip trim, drill, cleco, backing strips
|
|
This evening I trimmed and sanded the new left wingtip to make it fit, then taped it in place on the wing. I adjusted the tip for the best alignment I could get with the aileron, then drilled and clecoed it in place. I marked the 1/4" gap between the tip and the aileron, then removed the tip and final-sanded the edge to achieve the desired gap.
Next, I sanded the inside edge of the tip and cleaned it with acetone in preparation for bonding on the reinforcement strips.
I prepped the strips by removing the plastic, roughing them up with sandpaper, filing the corners, then cleaning them with acetone.
Next, I mixed up some 30-minute epoxy and bonded the backing strips inside the wingtip, clamping them in place with a bunch of binder clips. Since the epoxy calls for a 70-degree curing temperature, I cranked up the heat in the hangar and also set up a portable heater near the wingtip. The cure time is 24 hours, so tomorrow night I'll plan to sand off the extra epoxy that oozed out, drill out the holes to final size, and mount the nutplates.
|
|
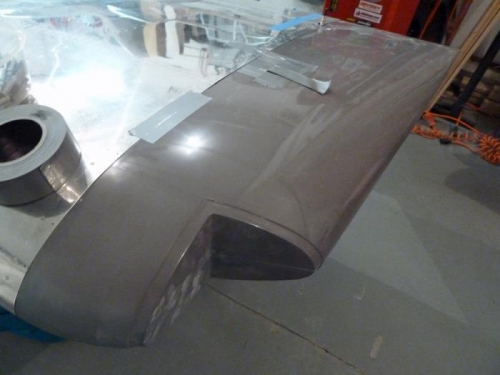
New wingtip, duct-taped in place to check the overall fit.
|
|
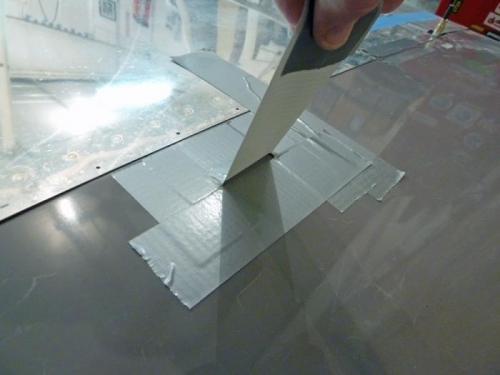
Here's how I pull up on the tip while drilling the attachment holes.
|
|
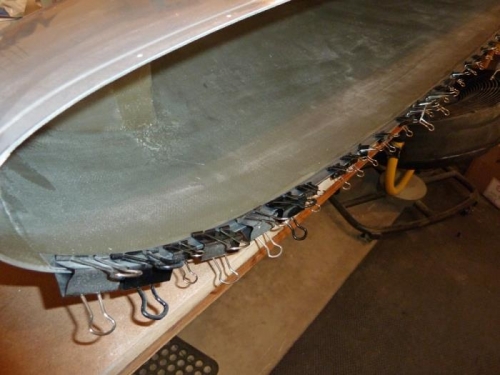
Nutplate backing strips, bonded and clamped in place.
|
|
|
|
|
|
|
|
|
Copyright © 2001-2024 Matronics. All Rights Reserved.
|