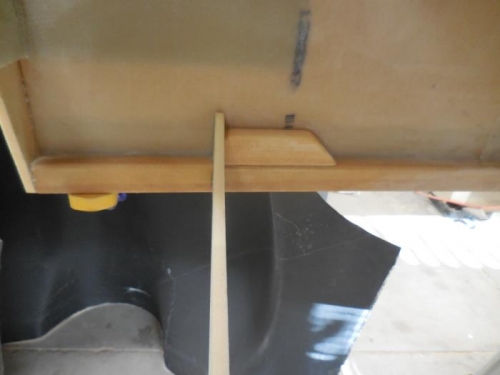
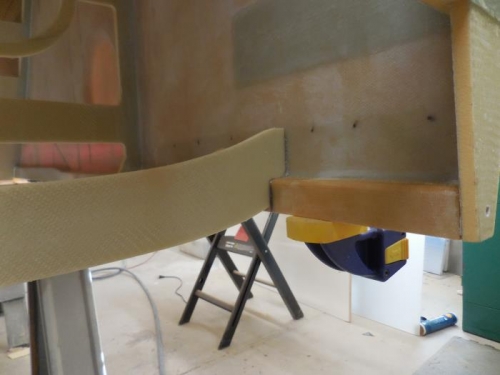
I layed out a couple of saw horses and use bondo to secure the legs to the floor. I then attached some straight boards to the saw horses using more bondo and door shims to get the straight boards level and the two saw horsed level with each other. I move the fuselage from the table to the saw horses and fit the bottom foam and clamped it into position. I then used a fine point Sharpie marker to trace the fuselage sides profile on the foam and traced the inside bulkheads and lower longerons. After tracing I removed the bottom and cut the side profiles using a jig saw. I then reinstalled the bottom and clamped it in position again. I used a sanding board to flush up the sides of the bottom to the sides of the fuselage. I removed the bottom again and started working the installation of F28. I cut the spruce backup blocks that flox in under the upper longerons. I mixed up some resin and precoated the wood blocks on the bonding surfaces. I then added some flox to the resin and buttered up the blocks and clamped them in positon under the upper longerons. More flox was used to bond F28 into position and left it to cure.